Step-by-Step Guide
DrupalPod AI QA is an automation tool designed to simplify testing and validation of AI module patches and pull requests in Drupal environments.
This guide covers using the DrupalPod AI QA Chrome extension with DrupalForge.
Prerequisites
Make sure you have:
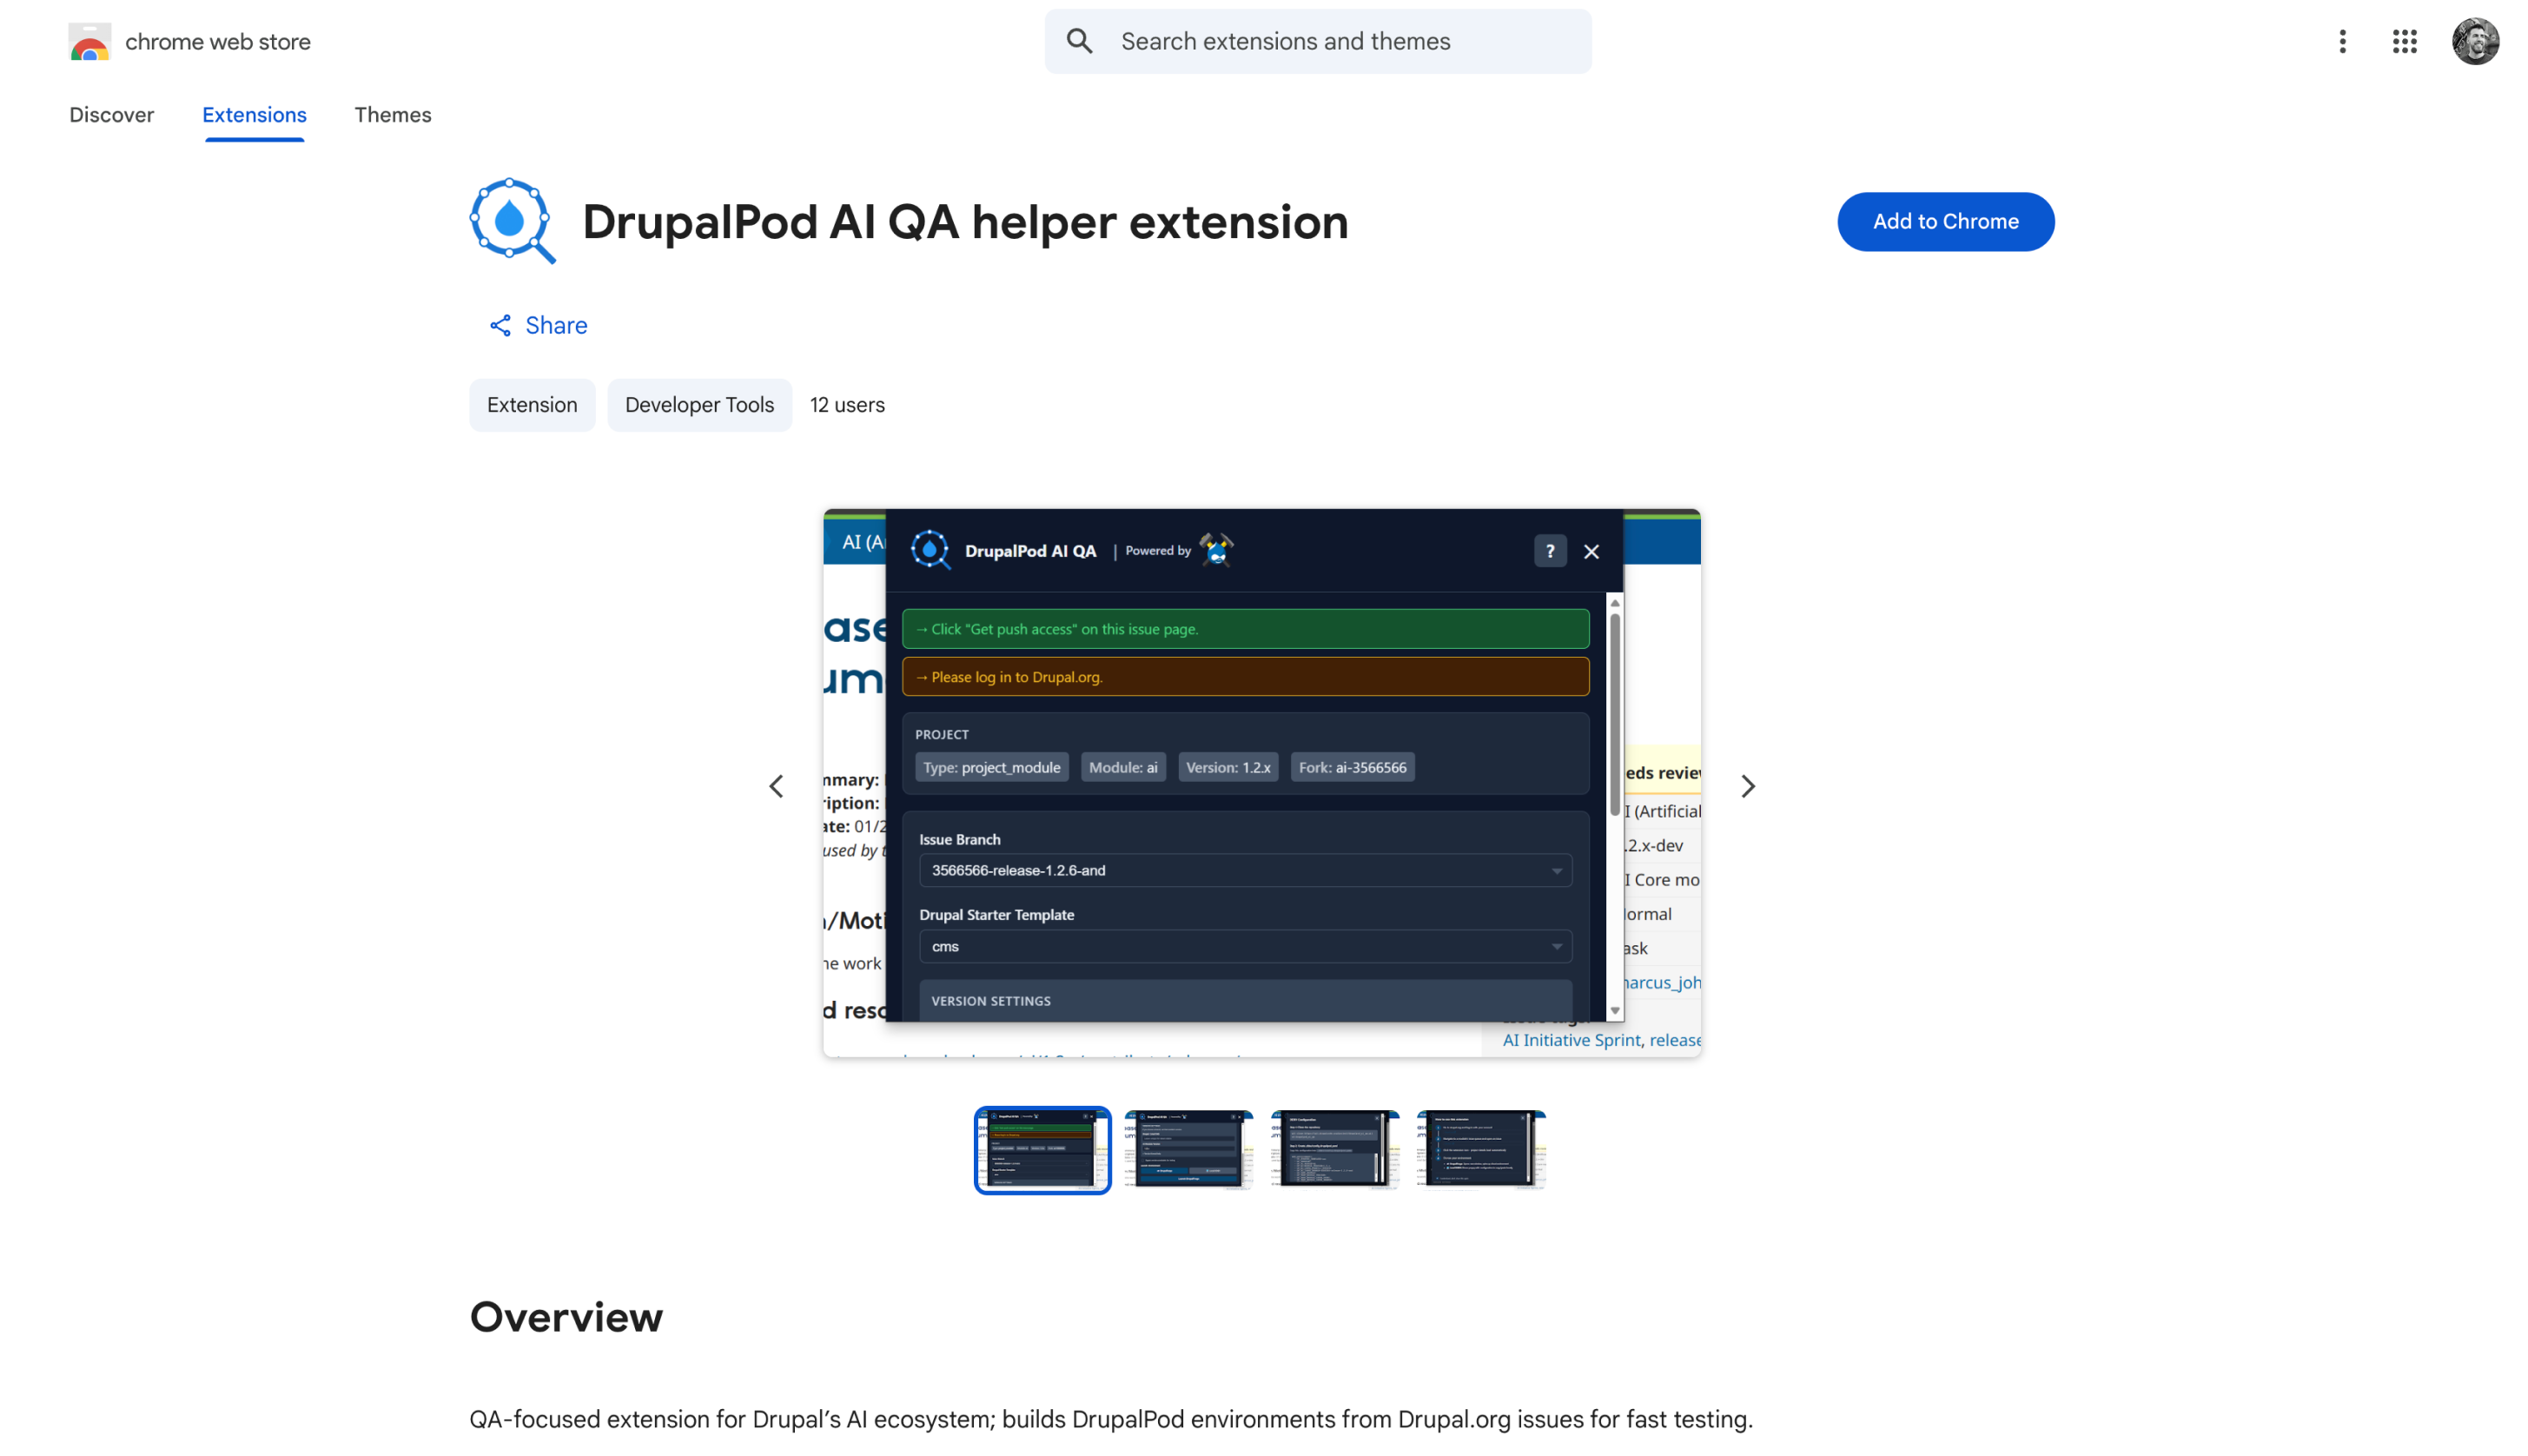
- Installed the DrupalPod AI QA helper extension in Chrome
- Logged in to DrupalForge
- Opened a drupal.org issue for the module you want to test
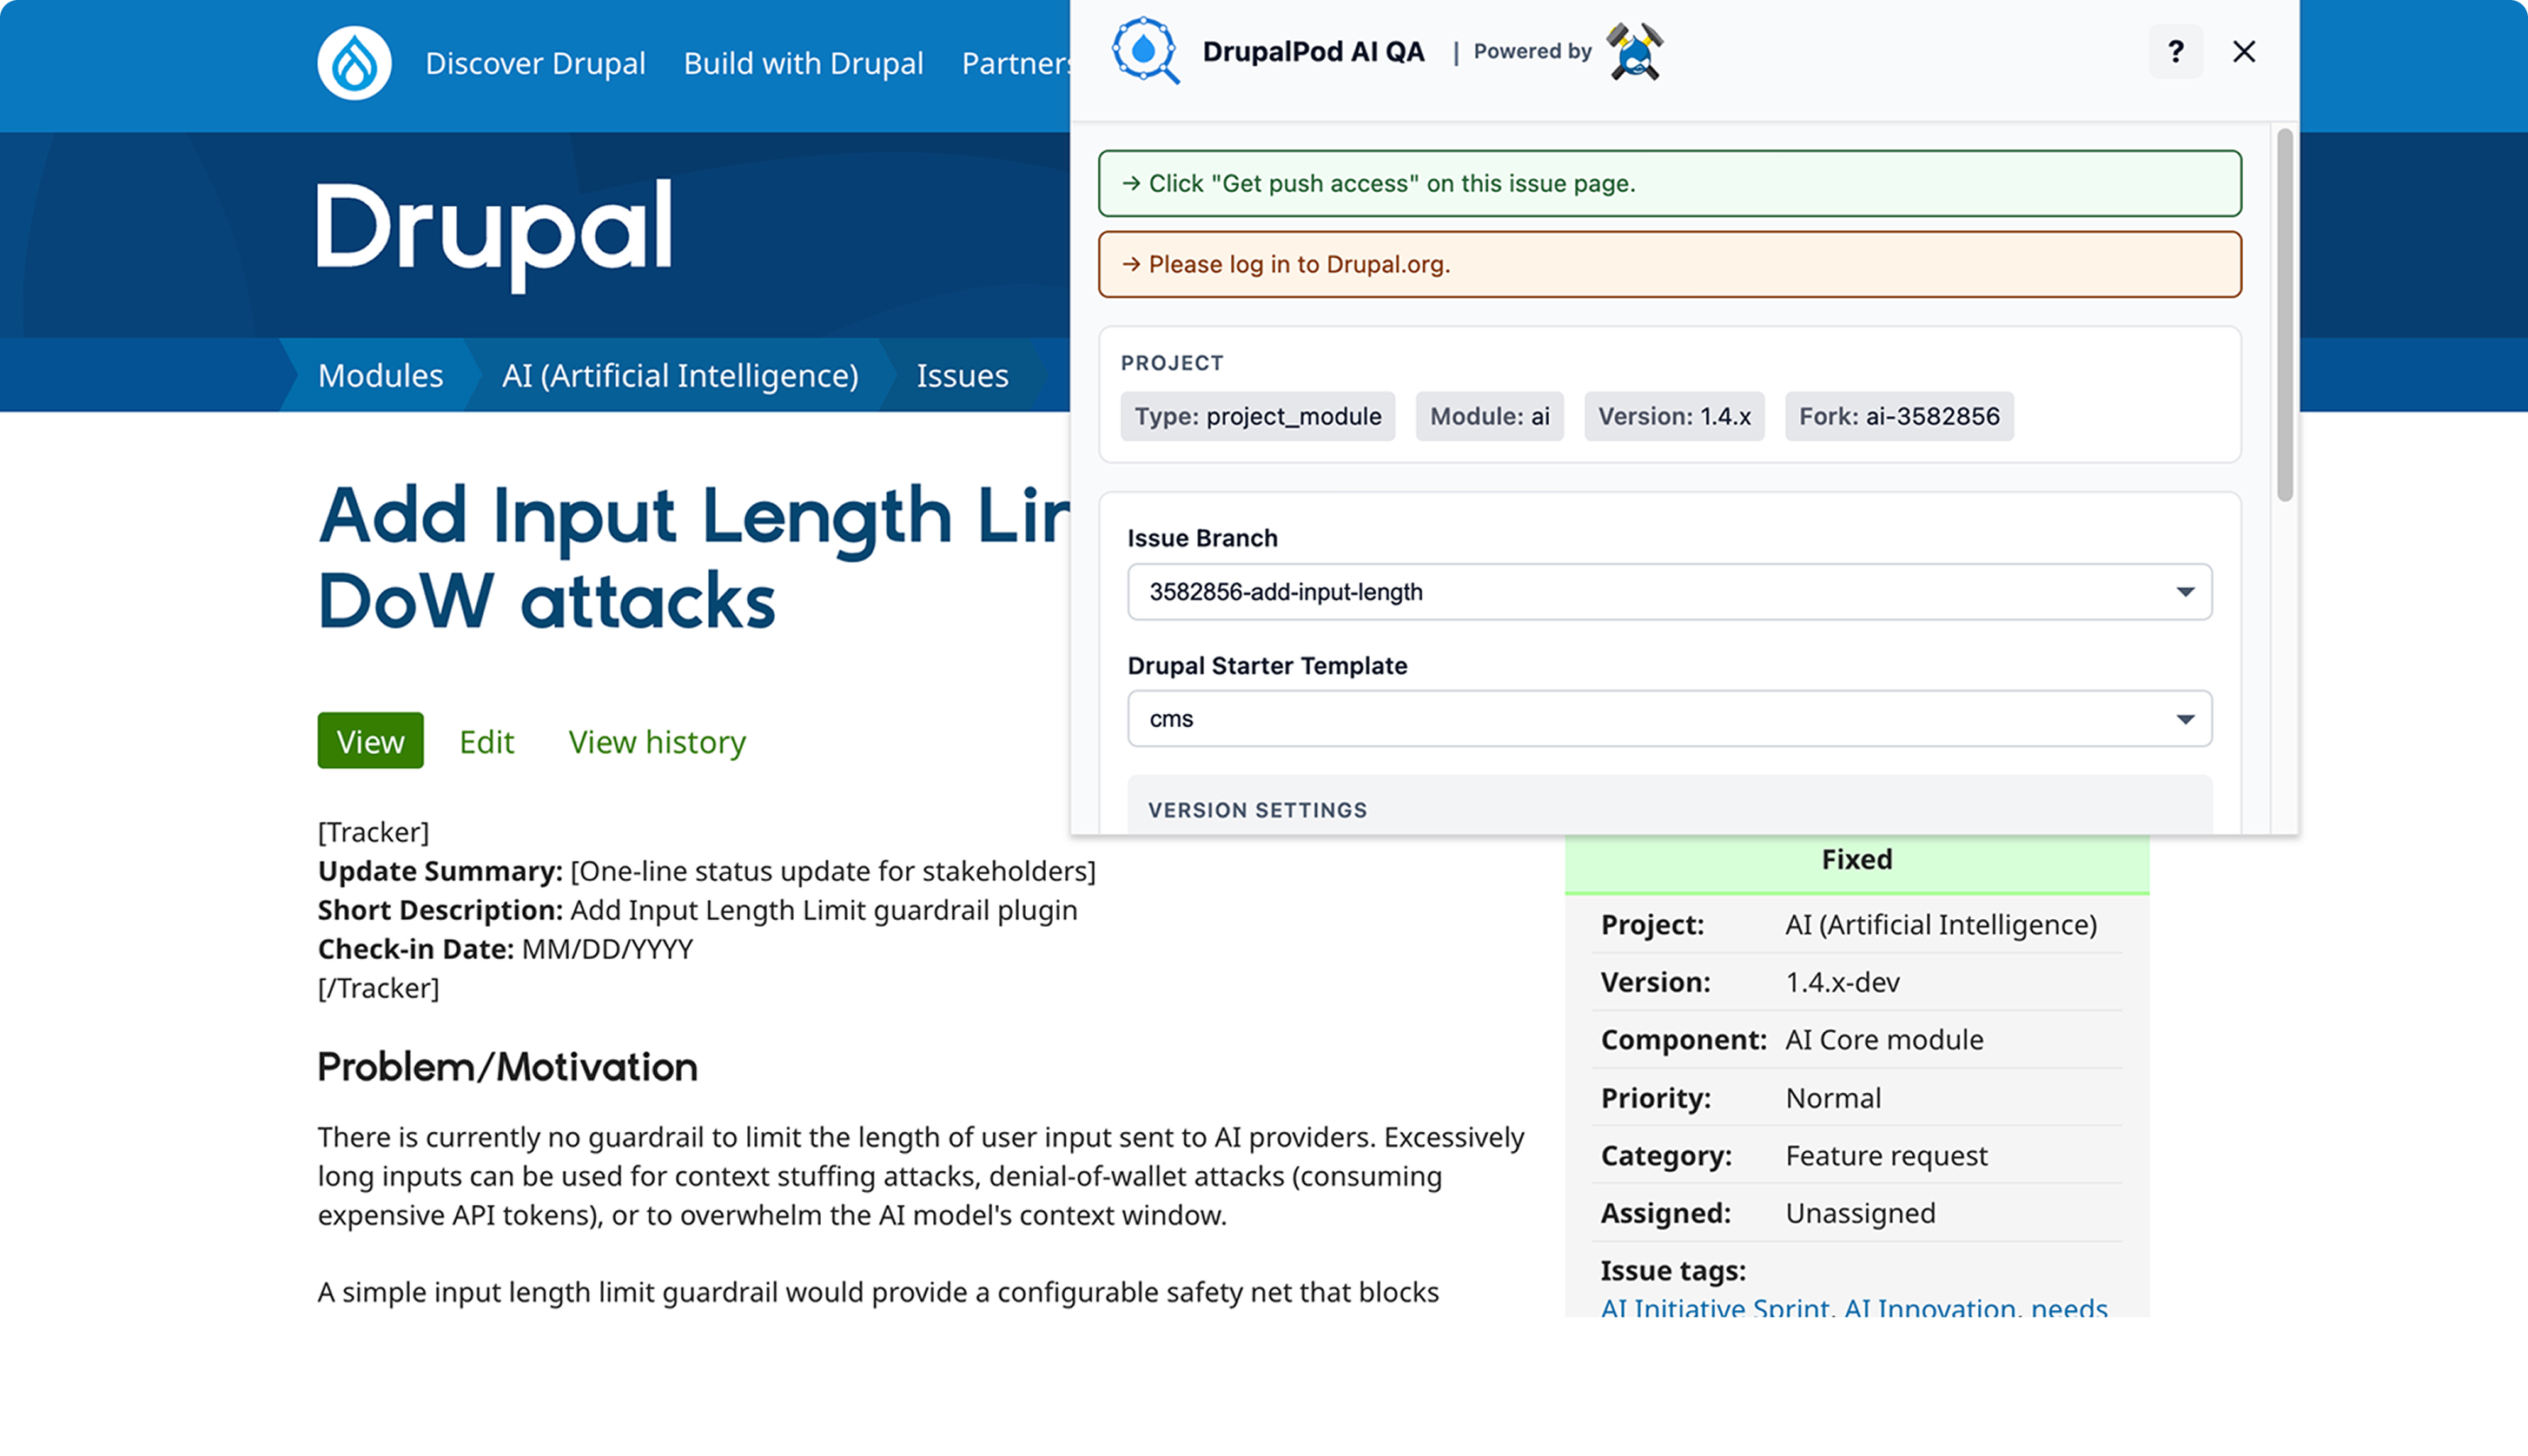
Step 1: Open the Ticket
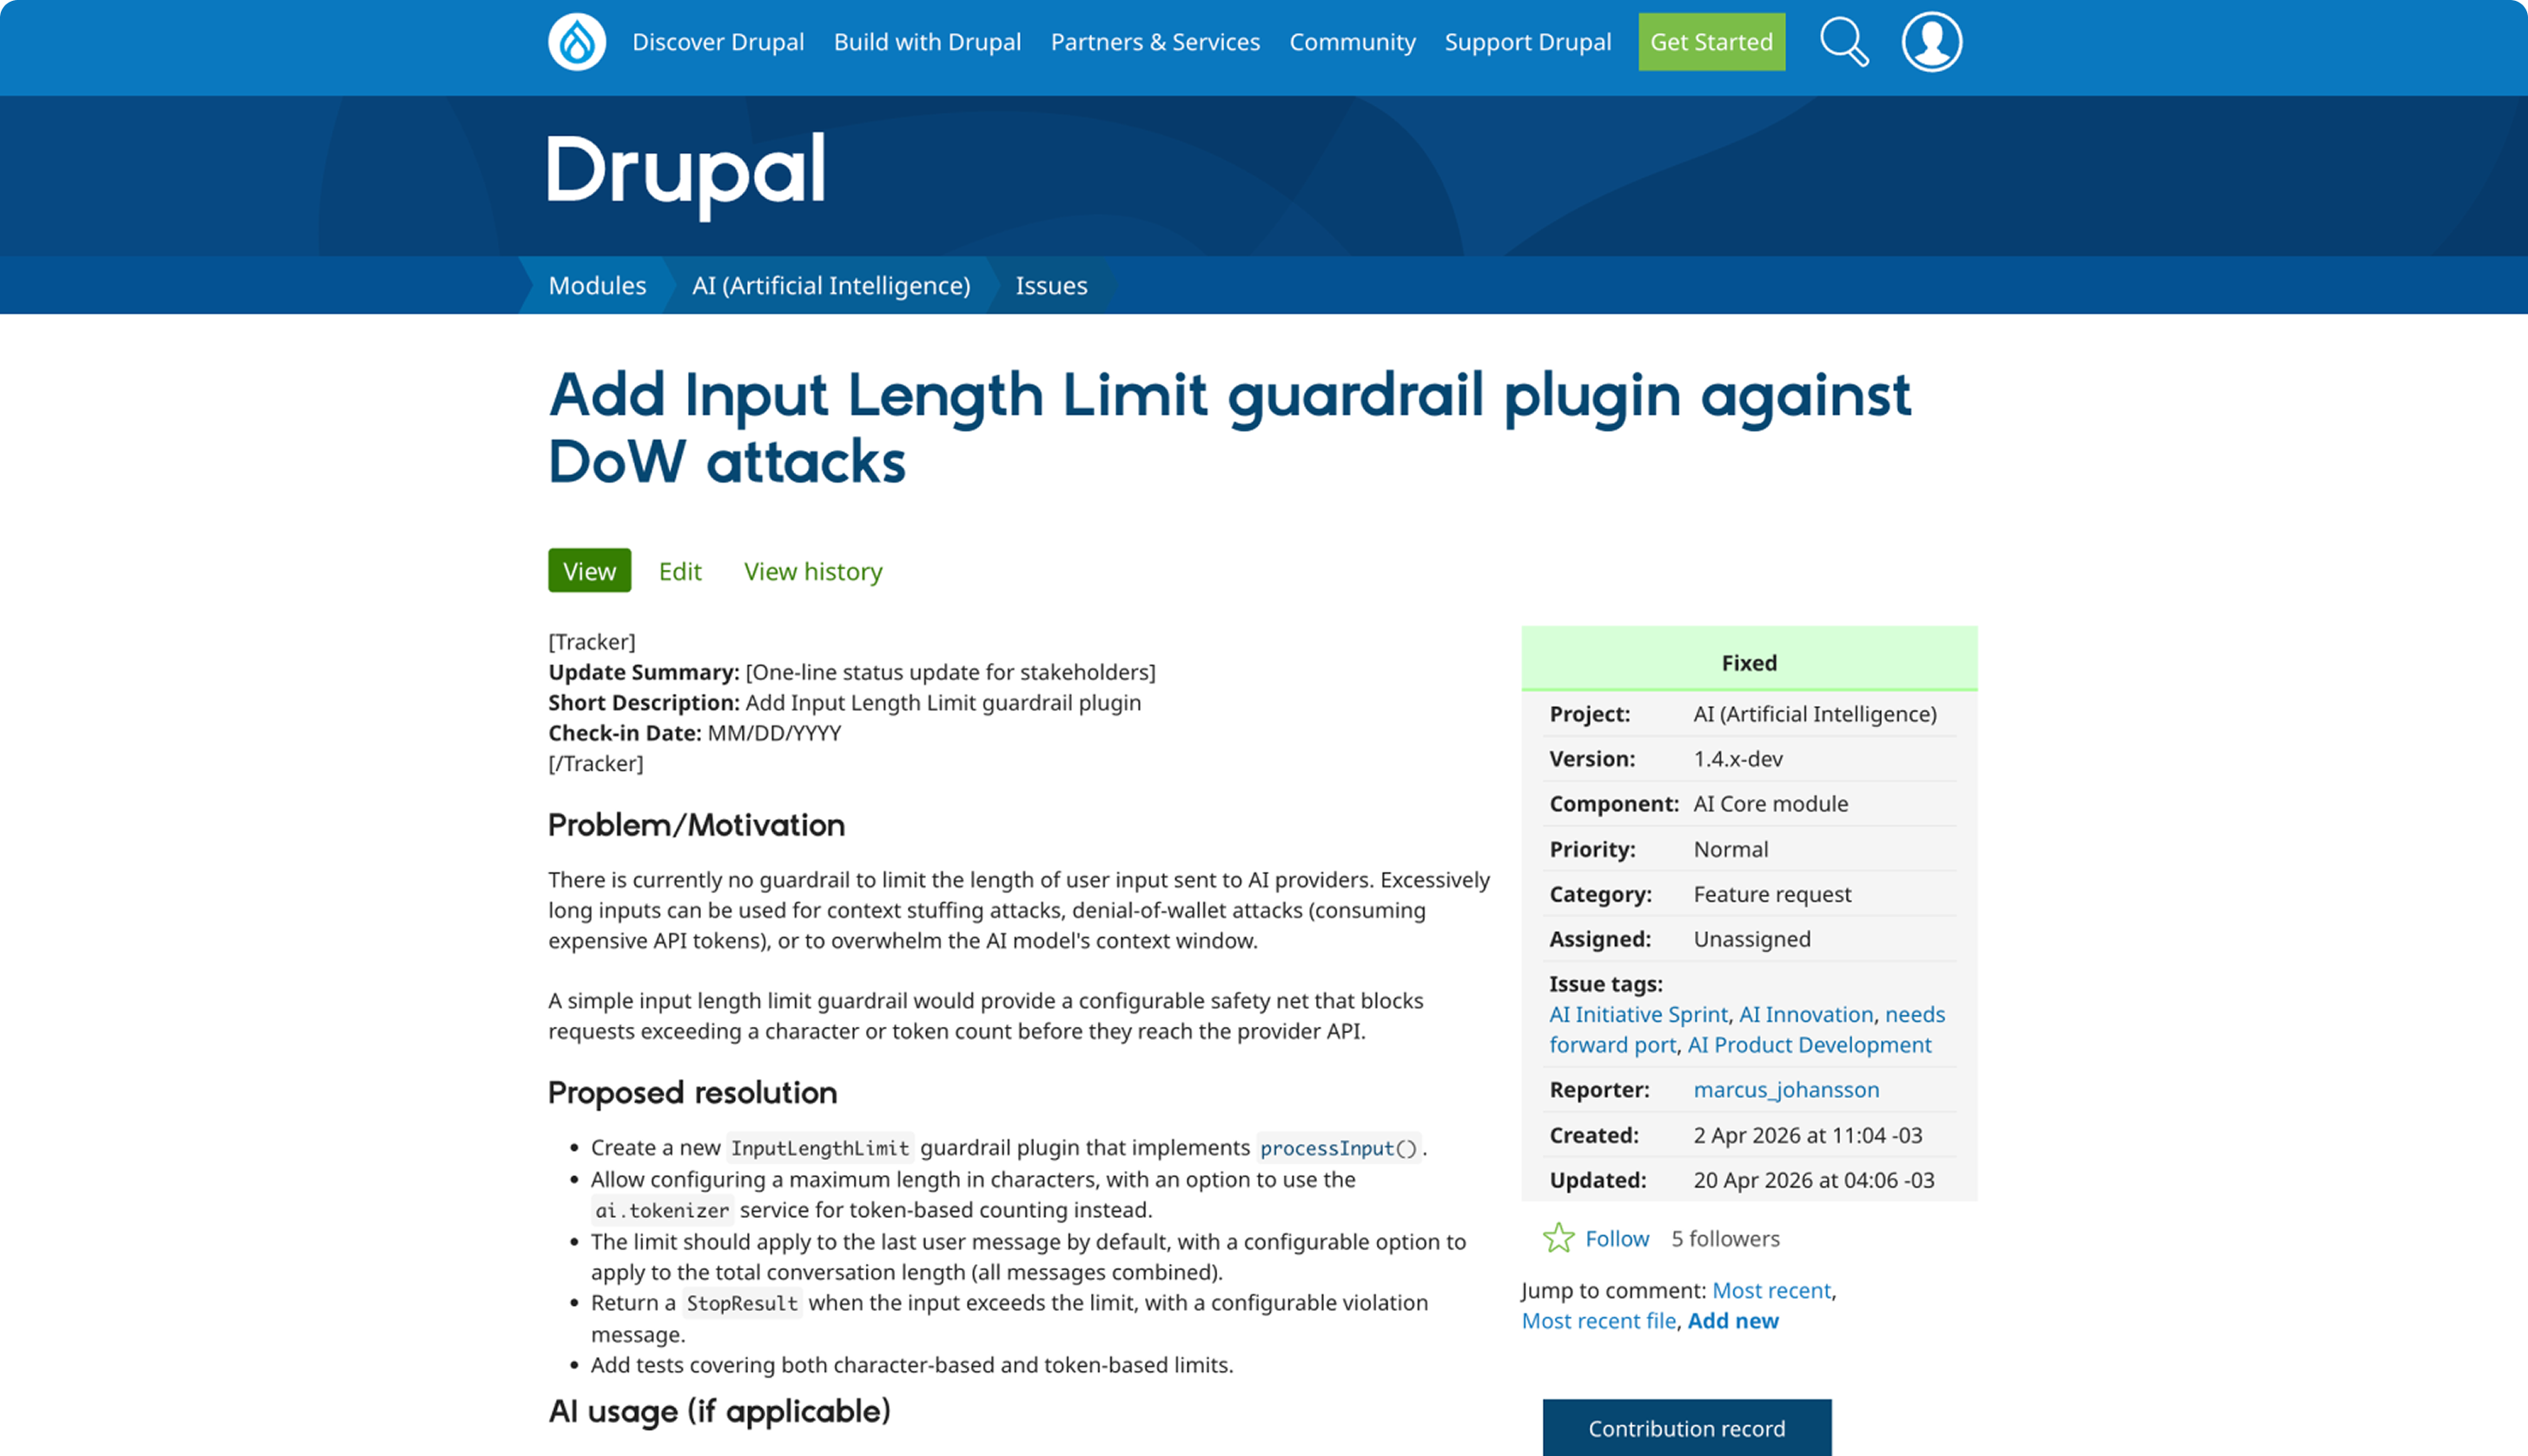
Navigate to the AI module issue you want to test, then open the Chrome extension while you are on that ticket page.
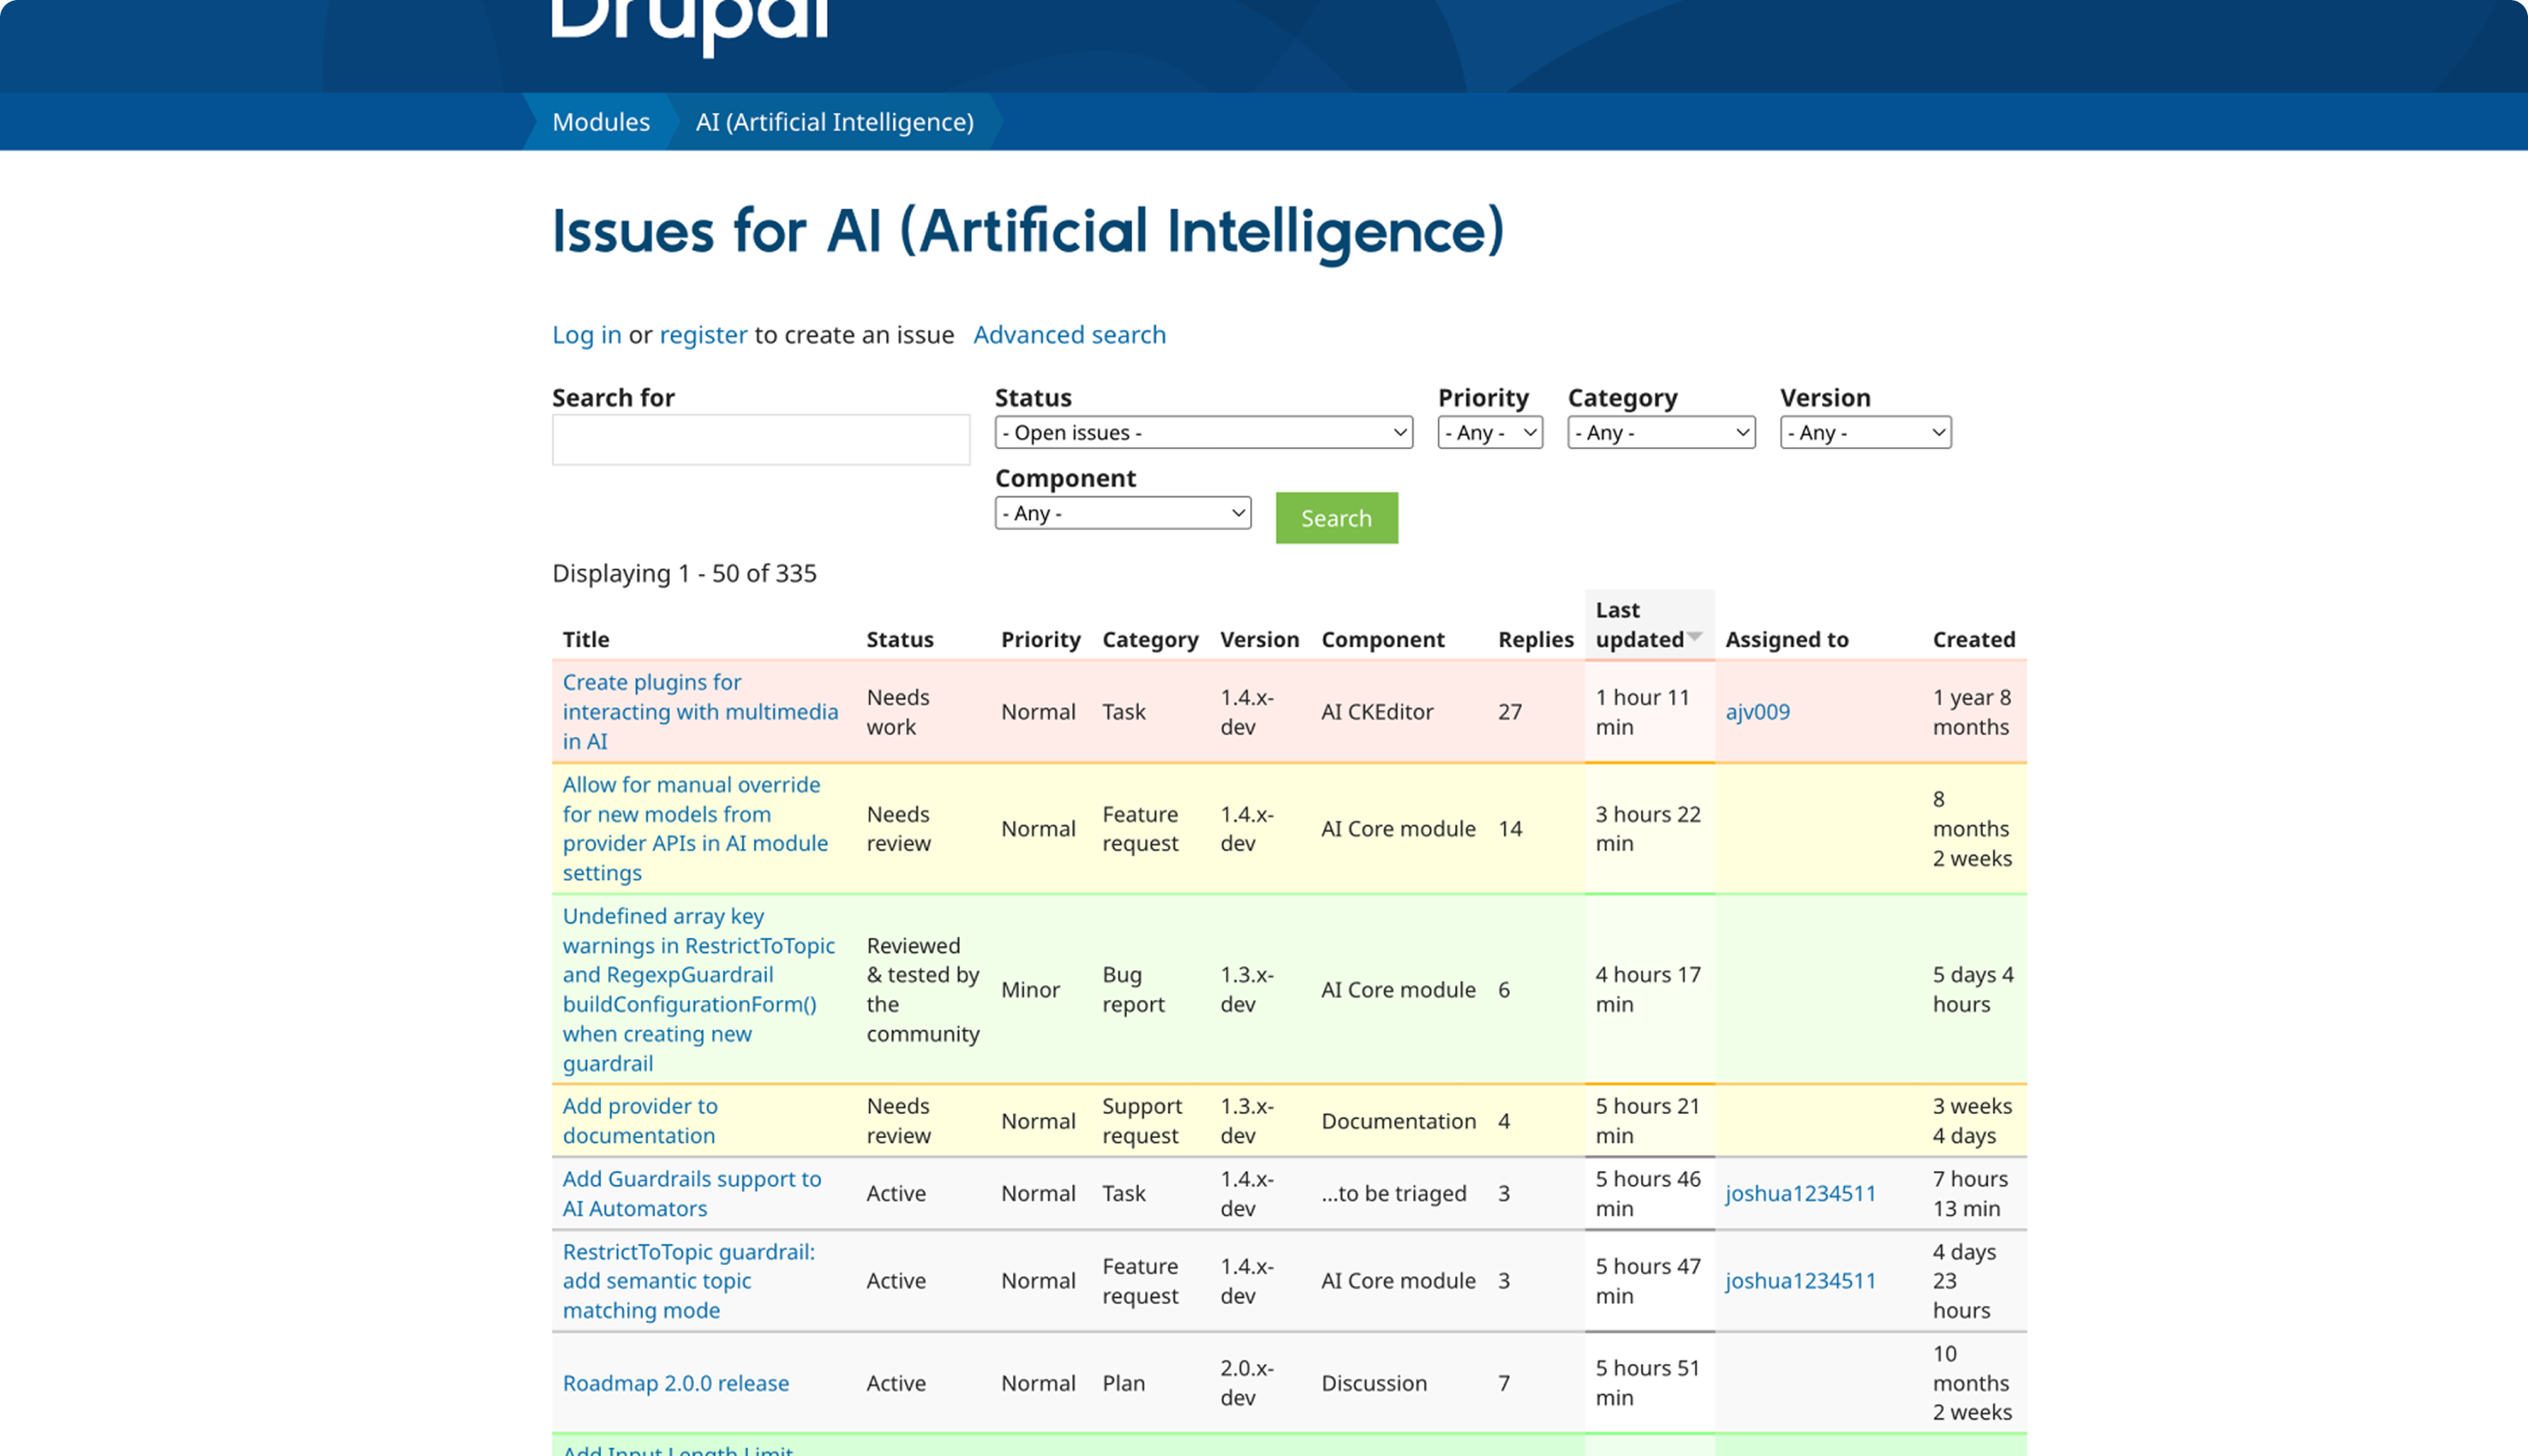
Open the specific issue you want to test:
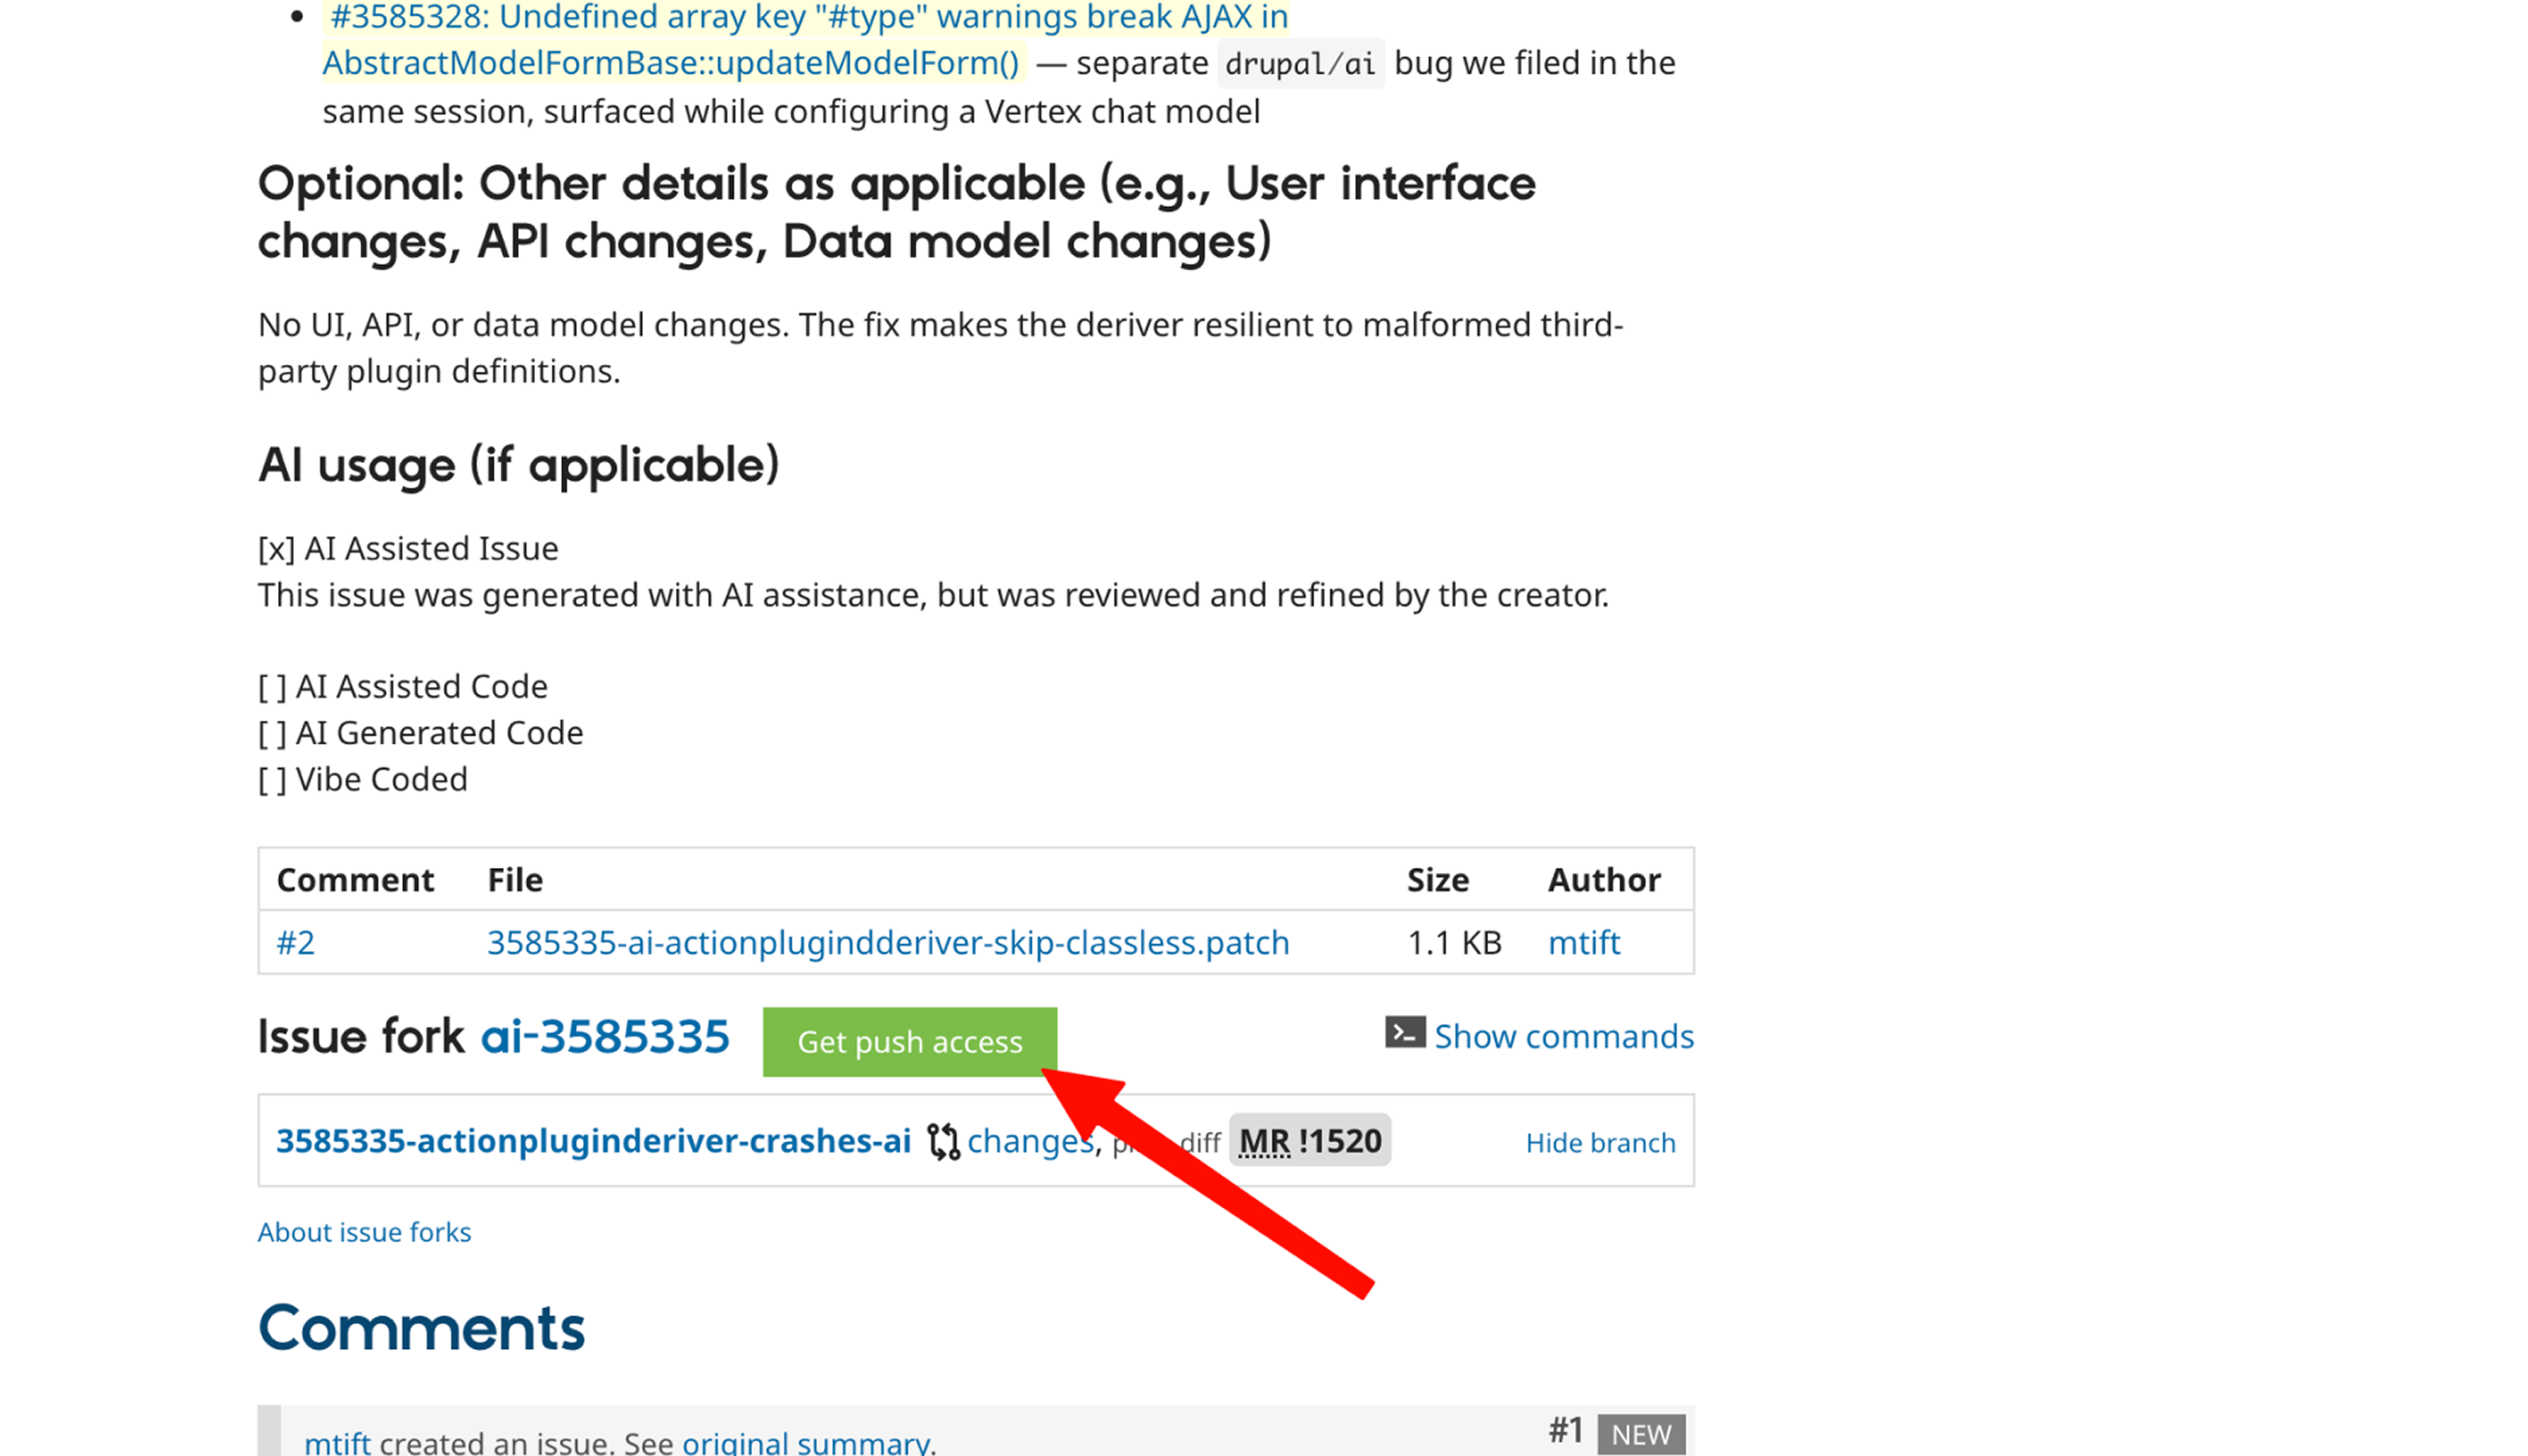
If the issue has an issue fork, click Get push access before launching:
Step 2: Configure the Environment
Inside the extension, review the environment variables before launch.
Most users will not need to change anything. In the standard flow, the extension will populate the required values from the ticket context.
If you are not sure, leave the defaults alone and use the values generated by the extension.
Scroll through the version settings and review the launch target:
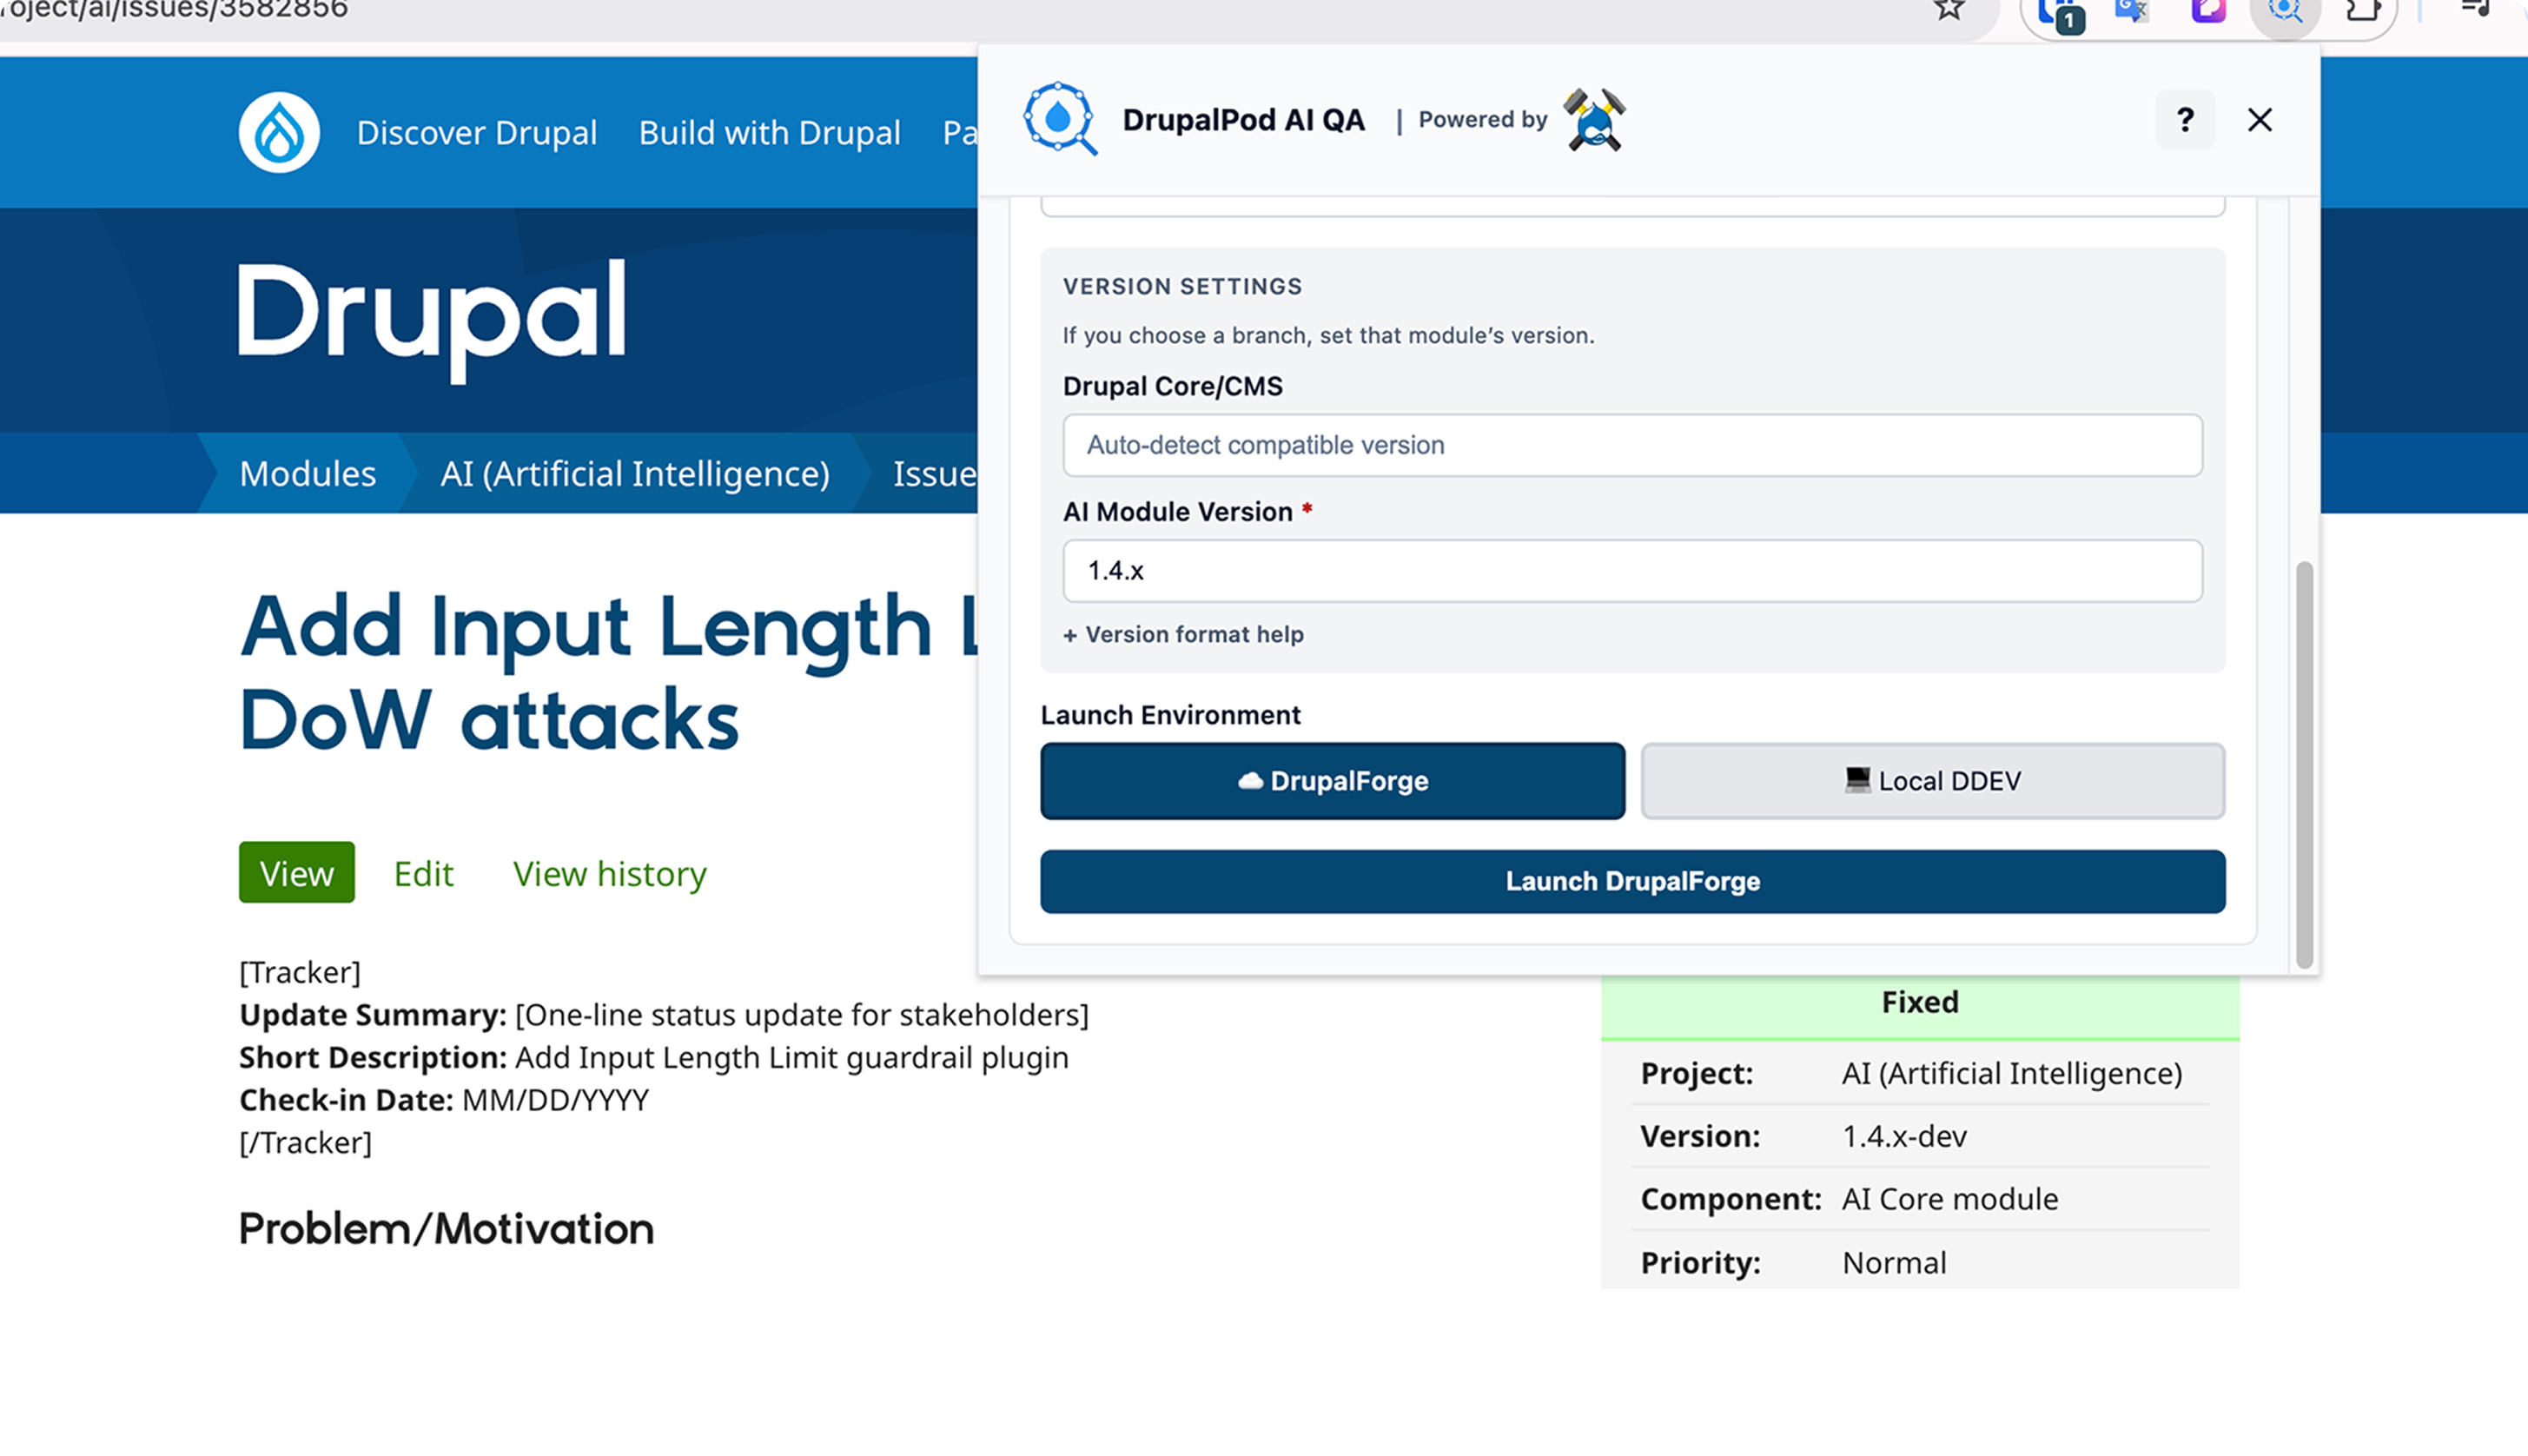
Step 3: Choose Where to Build
Select the target environment:
DrupalForgeif you want a hosted environmentLocalif you want to run the project in DDEV on your machine
Local DDEV option
The local option requires a manual setup step. See the Local DDEV Guide for details.
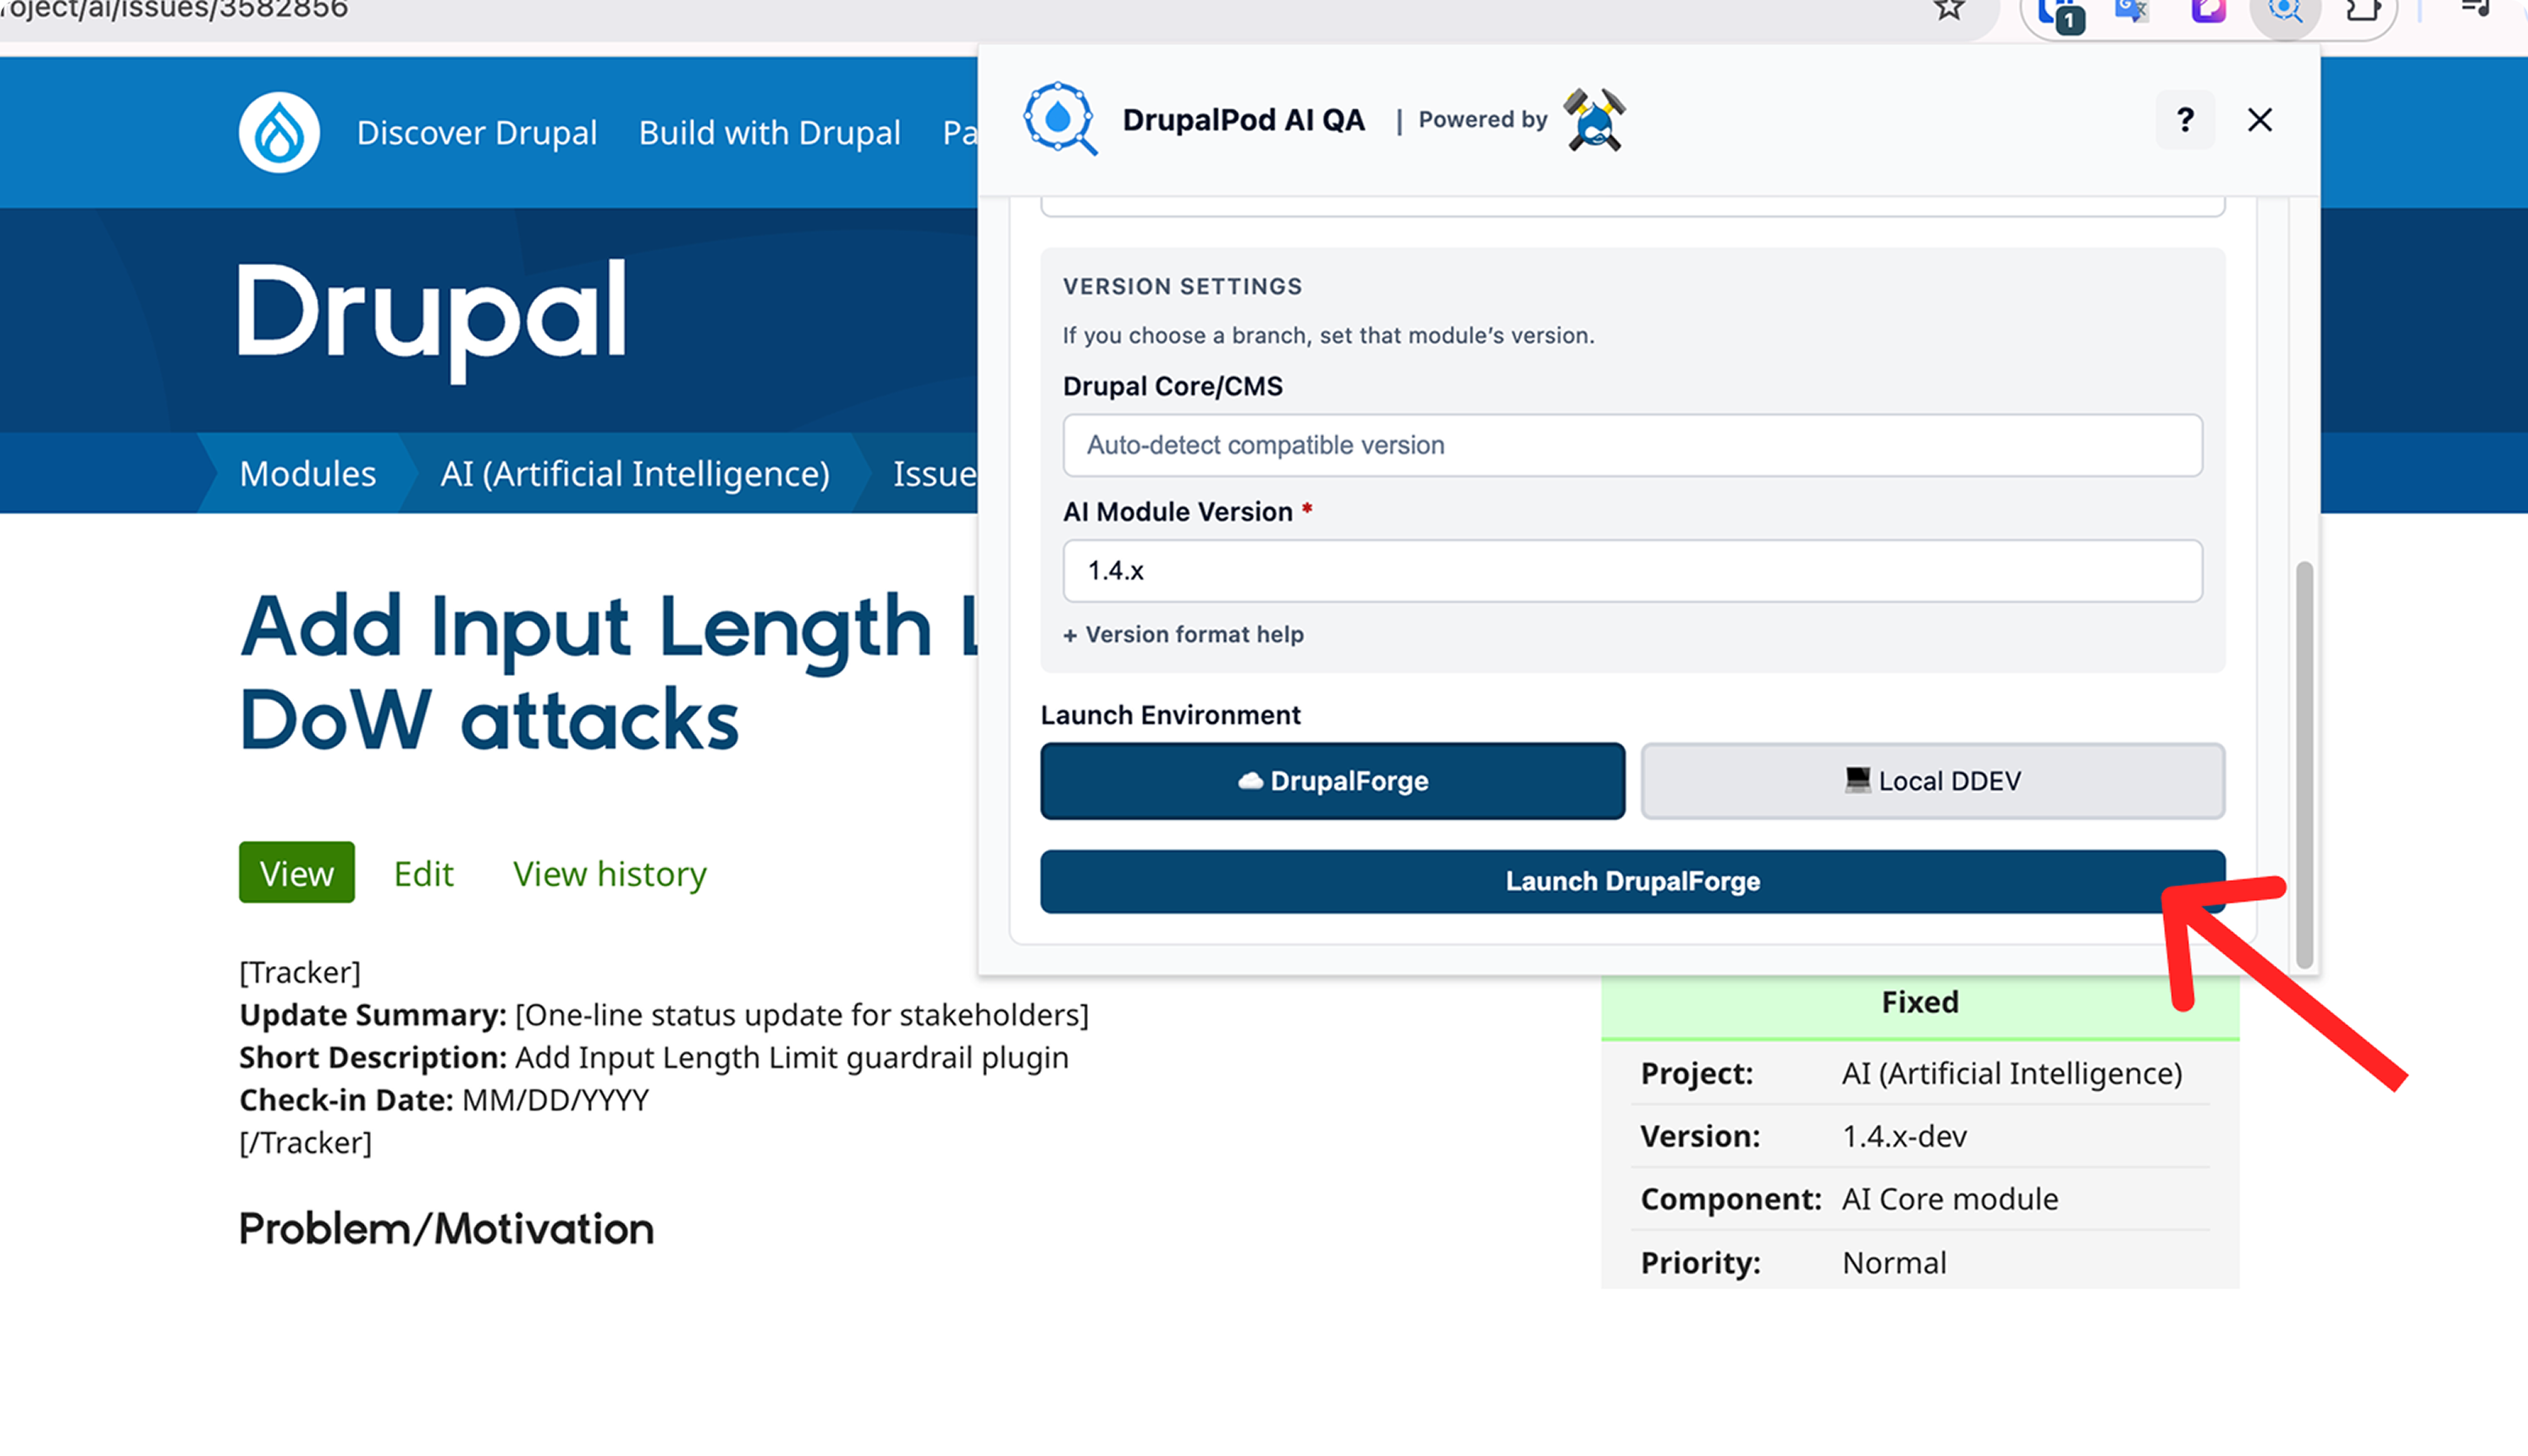
For the DrupalForge path, make sure you are already signed in to DrupalForge in another tab. The extension will use that session to launch the environment.
When you are ready, click the launch button in the extension:
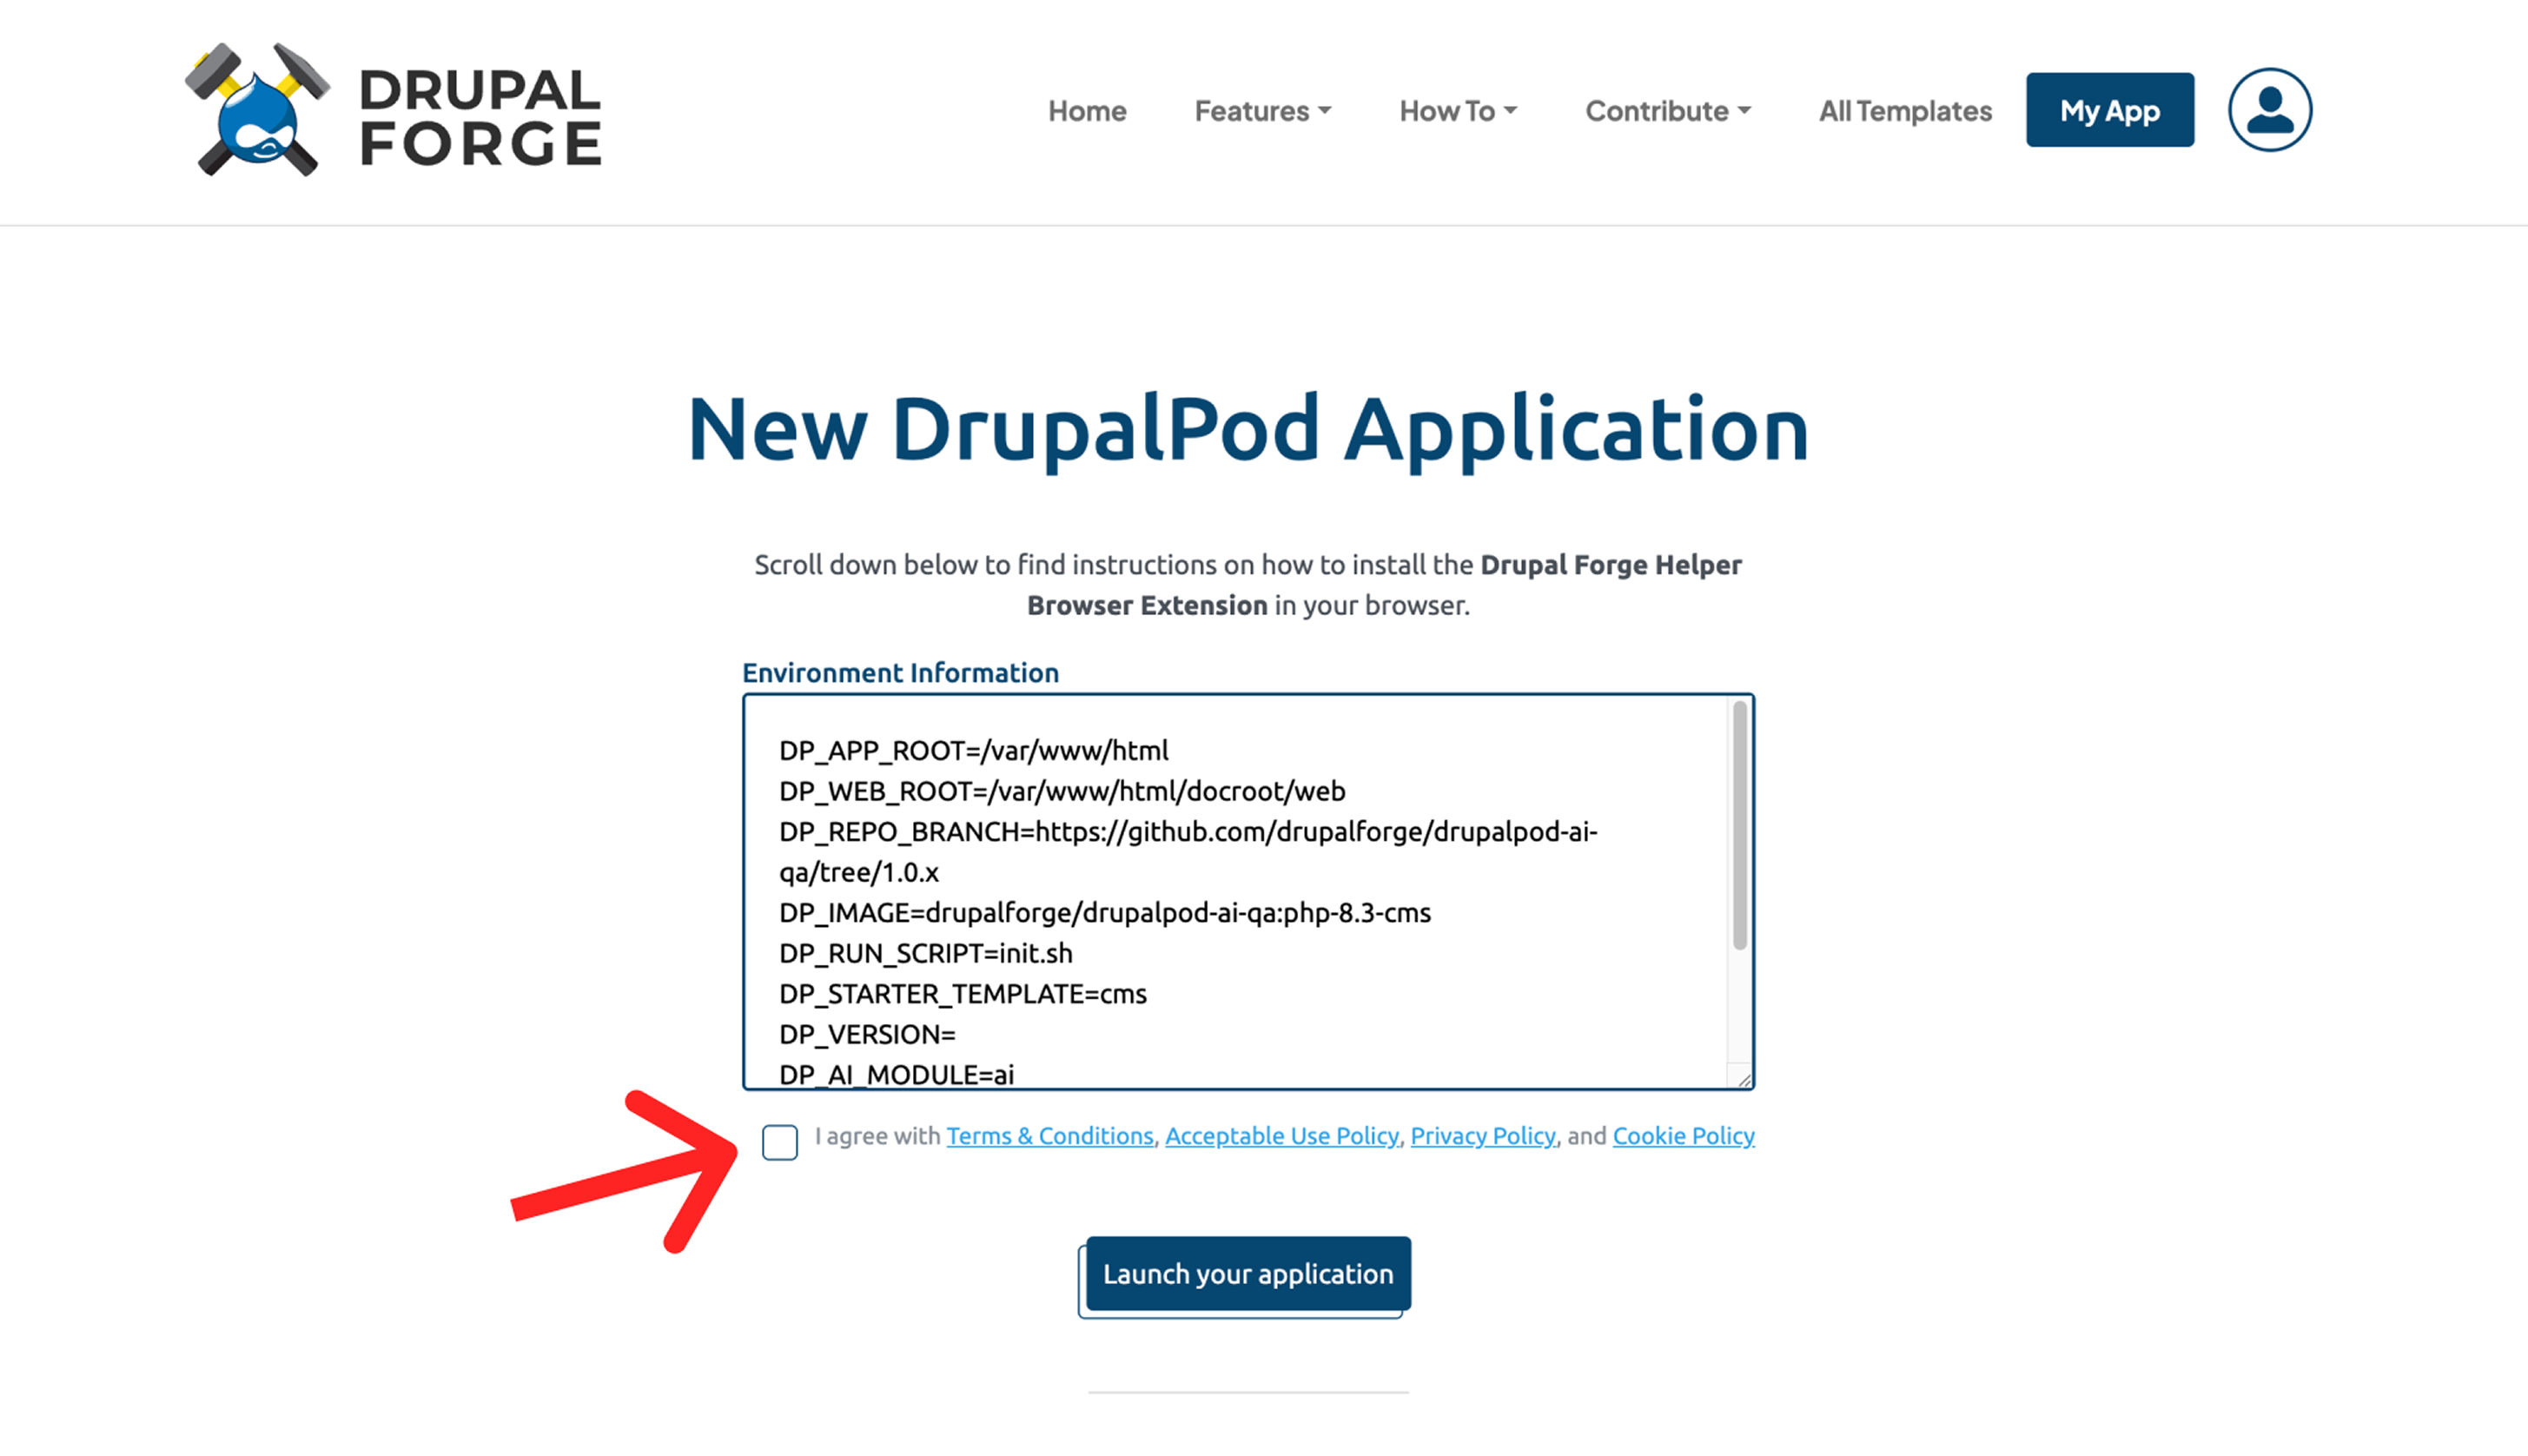
Step 4: Review and Launch in DrupalForge
After clicking launch, DrupalForge will open a generated application screen.
AI provider selection
In the standard workflow, DrupalPod AI QA uses
ai_provider_amazeeio,
which gives you an auto-provisioned trial setup. You can optionally set
DP_AI_PROVIDER to openai or anthropic and enter your own key. For
more detail, see Choosing an AI Provider.
At this stage:
- Review the generated environment information
- Confirm the required terms and policy checkbox
- Click
Launch your application - Wait for the environment to finish provisioning

Check the required agreement box:
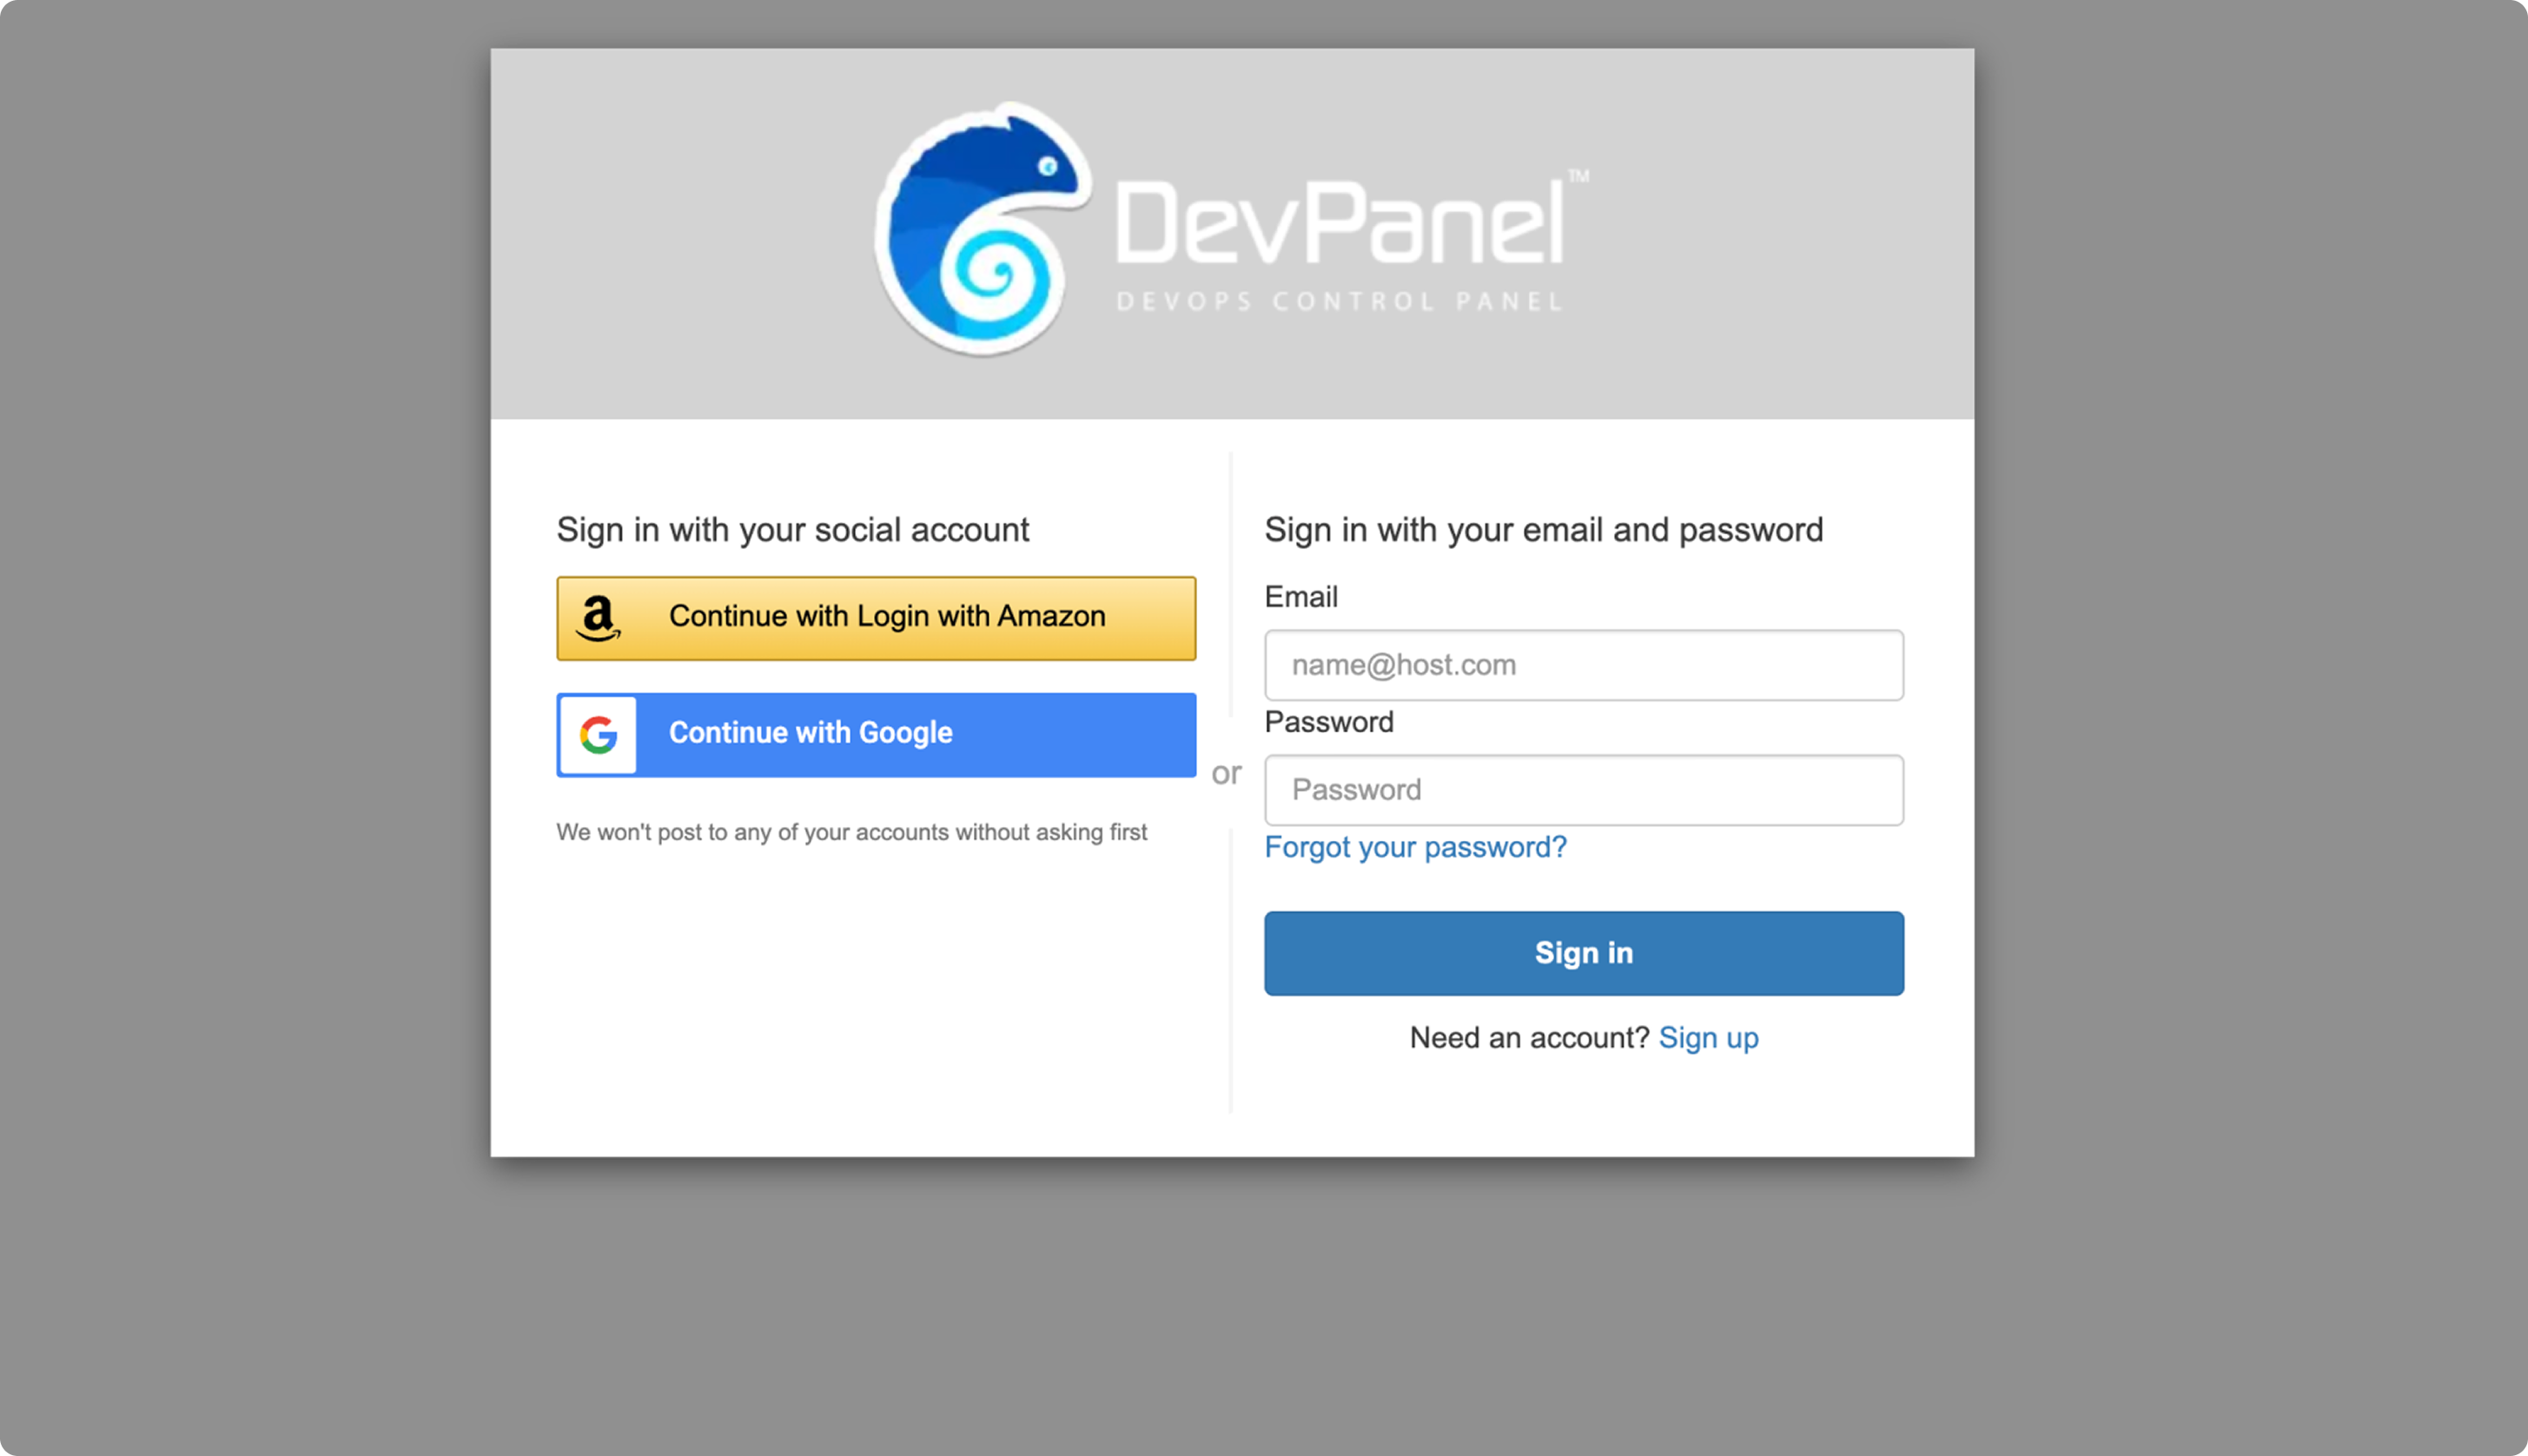
If prompted, log in to DrupalForge or DevPanel:
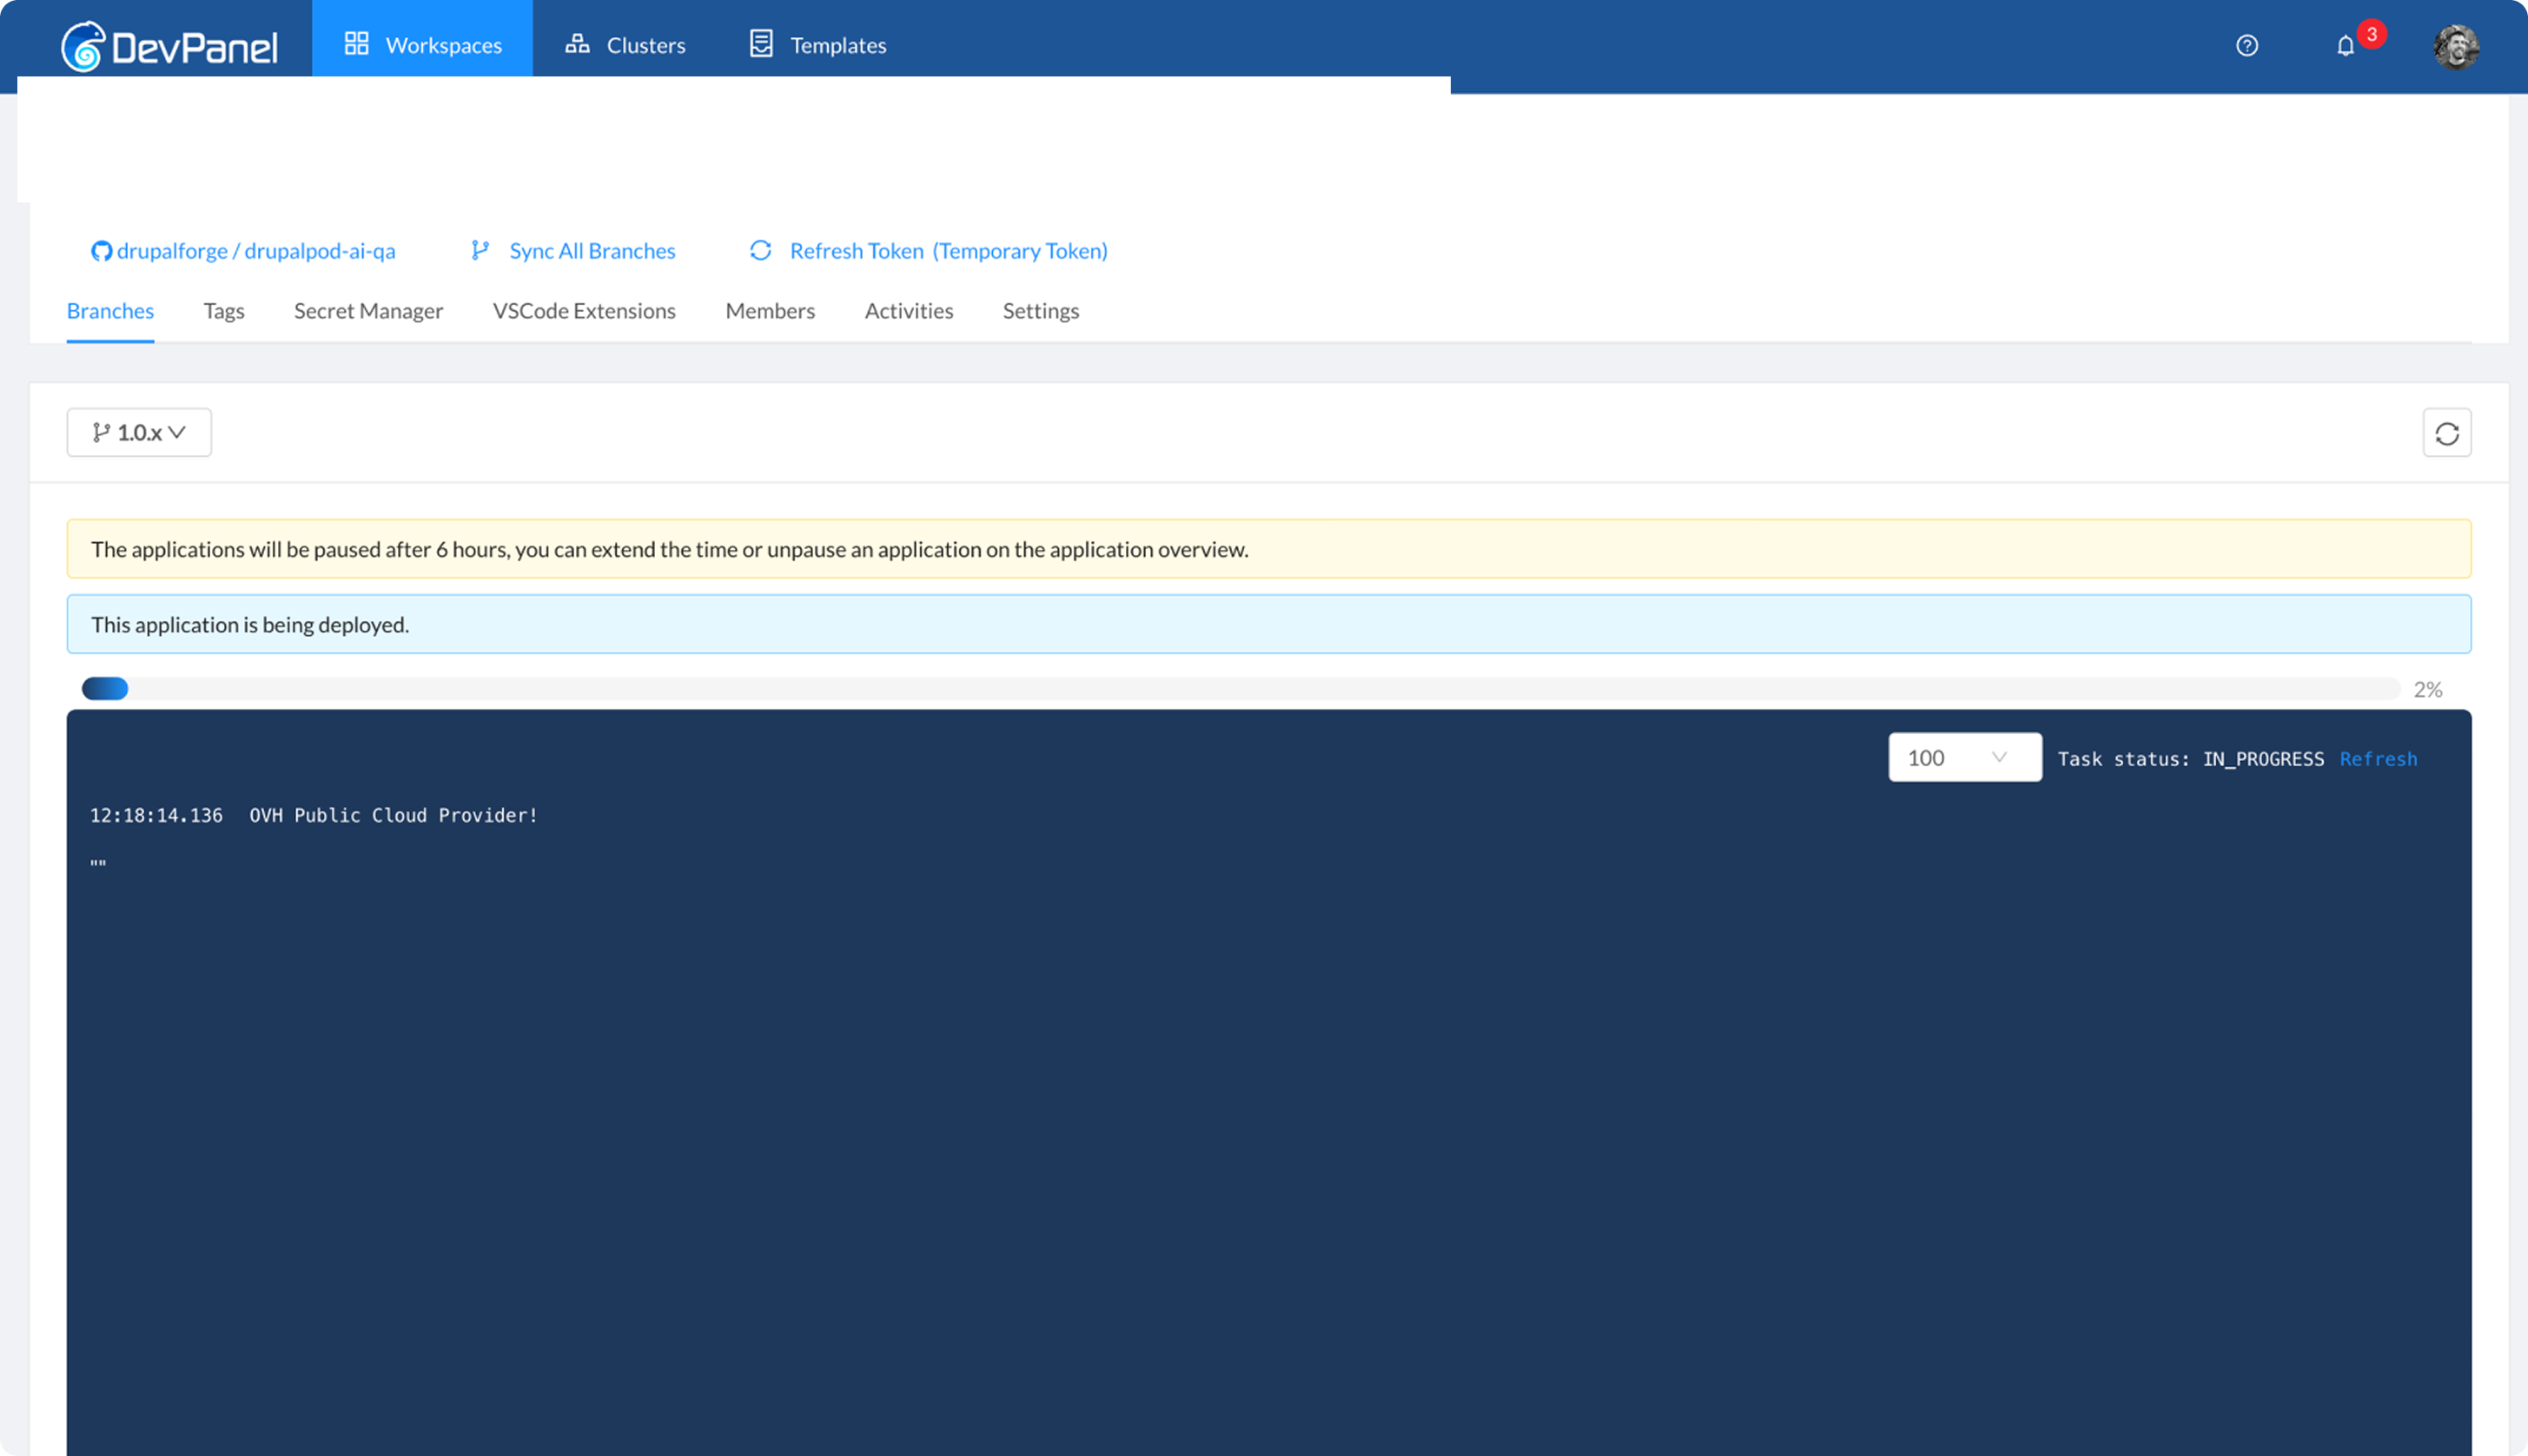
Step 5: Wait for Deployment
After launch, the environment will enter deployment.
During deployment, you can monitor the status in DevPanel:
Step 6: Access the Environment
Once deployment is complete, the DrupalForge dashboard will provide access to:
- The running site
- DevPanel controls
- An IDE for inspecting or editing the project code
Projects are expected to remain active for six hours.
After deployment is complete, the application summary and browser-based tools will be available from the DevPanel overview:
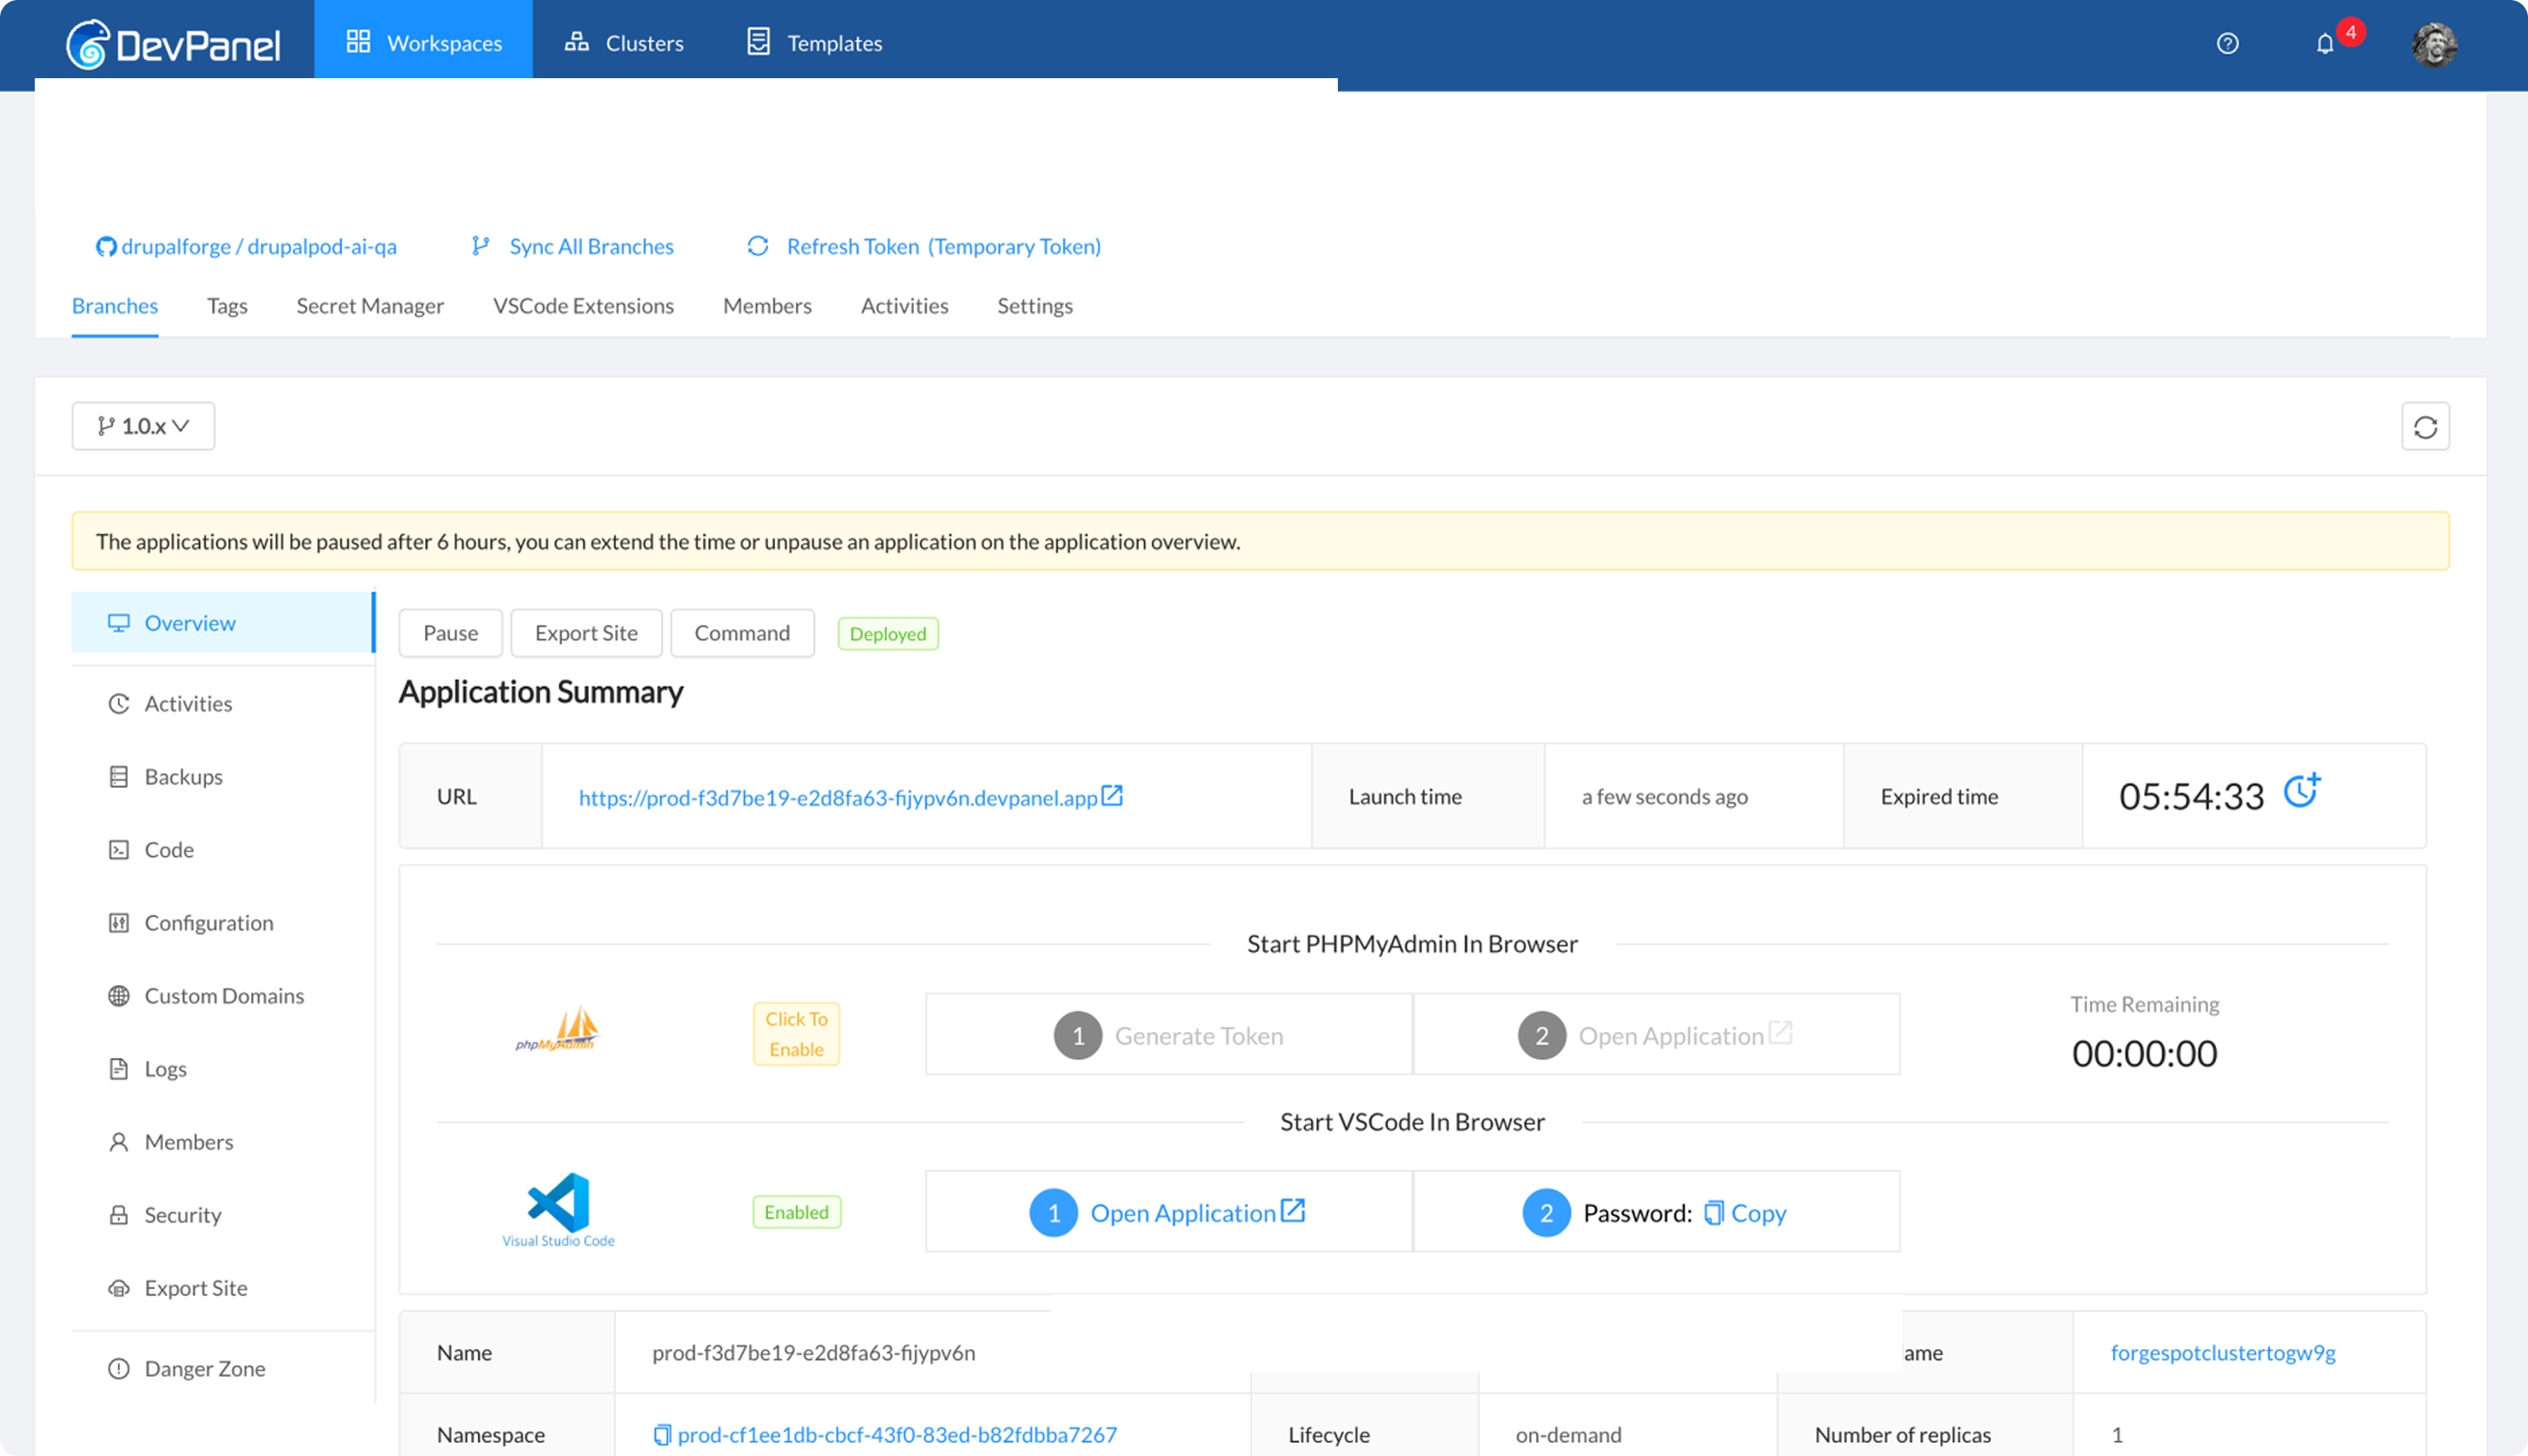
You can access your application by clicking the URL in the Application Summary.
To log into admin, go to https://[your-site].devpanel.app/user/login and use
admin:admin credentials to log in.
And then your application is ready to use! You can start testing your issue branch, or explore the codebase by using VS Code in the browser.
Public environment and AI provider credentials
DrupalPod AI QA environments should be treated as temporary shared environments
and are using insecure admin:admin credentials for the super admin user.
If you want to use a provider that requires an API key, see
Choosing an AI Provider for the DrupalPod AI QA
temporary key flow and DP_AI_PROVIDER options. This will allow you to use
your own key, and will auto-expire the key after a limited time window.
VS Code in Browser
If you want browser-based VS Code access, go to the
Start VSCode In Browser section, copy the generated password, open the
application, and submit the password in the prompt.
For the access steps, see Working with Visual Studio Code in the Browser.
If the site does not build correctly, see Troubleshooting.